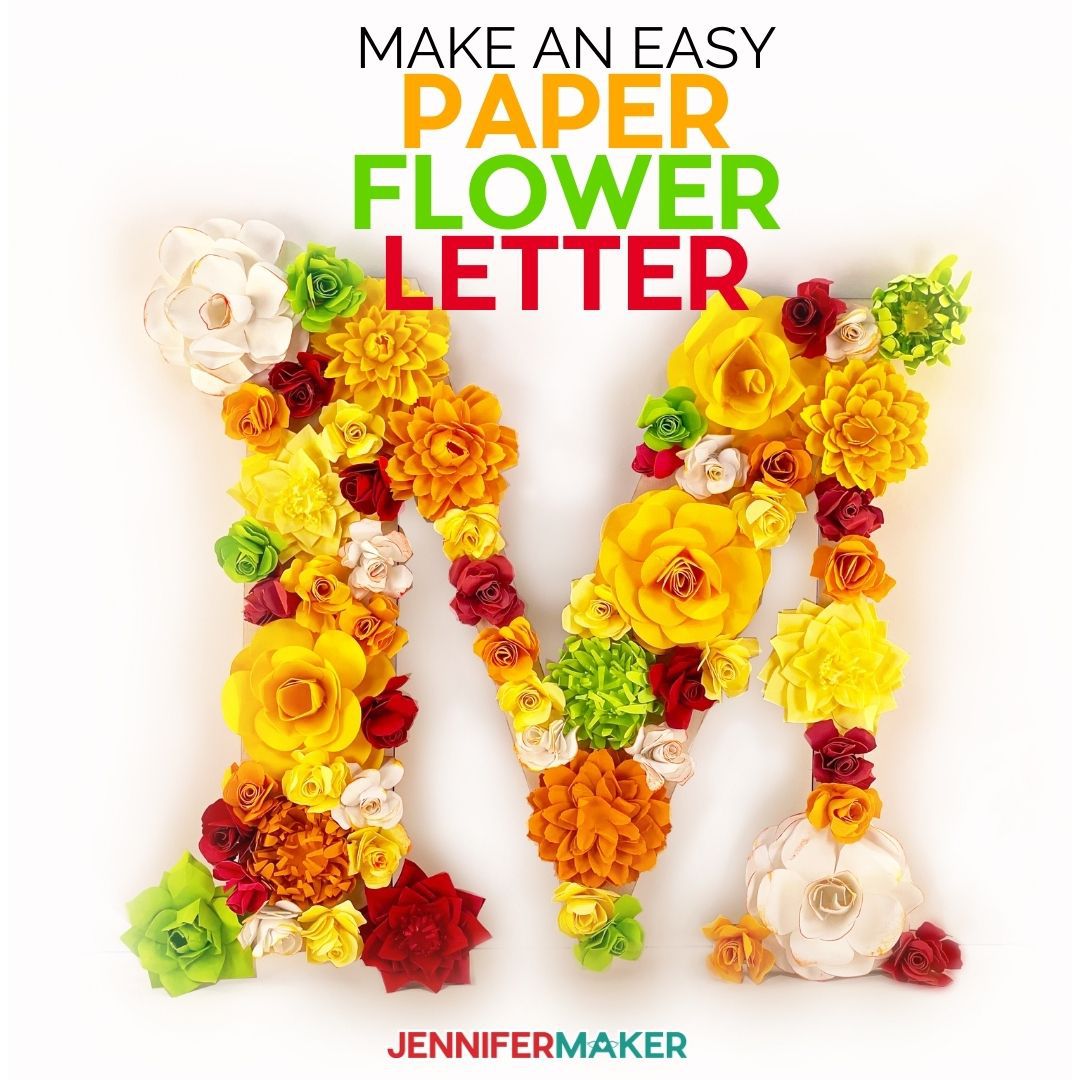
I love paper flowers! My first flower, a peony, kicked off an entire bouquet of various flower designs! Whether it’s a magnolia, a daisy, or even my giant sunflower, everyone seems to love creating these beautiful paper flowers. Flower popularity seems to spike in spring, with the hope of nice weather on the way and the chance to get outside and see the colorful blooms in your yard! But now, here’s a chance to not only create some beautiful flowers, but use them to create a Paper Flower Letter to decorate your house!
Lately, I have been spending some time thinking about unique ways to display paper flowers. Have you ever considered taking a bunch of pretty paper flowers and combing them on a large wooden initial to create a Paper Flower Letter? Instead of using flowers that are already on my blog, I’ve created totally new variations of a rose, carnation, mum, and dahlia! These are all sized to work perfectly together on a large wooden letter, but you can adjust the letter and flower sizes if you want. Another fun thing about this project is that you can customize the project by changing the letter and the color scheme! And for an added touch, I also show you how to use ink to decorate your flowers!
One of the great things about this project is that you don’t need a lot of supplies and most of them you’ll probably already have on hand!
To make this Paper Flower Letter, you will need to begin with a wooden initial. I used a 12″ letter for my flower letter but you can use any size you’d like. If you choose something larger or smaller, you will have to adjust the number of flowers you make, more flowers if your initial is larger and fewer flowers if your initial is smaller.
Based on this 12″ letter size, I used 15 large flowers and 43 small flowers on the letter M, for a total of 58 flowers. For the letter J, I used 9 large flowers and 25 small flowers, for a total of 34 flowers. So you’ll probably use something in between 30 and 60 flowers for the other letters in the alphabet.
In addition to the wooden initial, you will also need cardstock. Either 8 1/2″ x 11″ or 12″ x 12″ will work just fine for making your flowers. I used 65 lb. cardstock because it is easier to manipulate than heavier cardstock, and you will want to be able to bend the edges of your flowers to make them look more realistic. When it comes to assembling the paper flowers, you can use either a purchased quilling tool or make your own!

I used hot glue to both assemble the flowers and to adhere all the flowers to the wooden initial!
To cut out the flower designs, I used my Cricut cutting machine, along with the Fine-Point Blade, and a Green StandardGrip Machine Mat.
Let me show you how to make a paper flower letter for your home! This post contains some affiliate links for your convenience (which means if you make a purchase after clicking a link I will earn a small commission but it won’t cost you a penny more)! Read my full disclosure policy.
Quick Links to Information in this Post
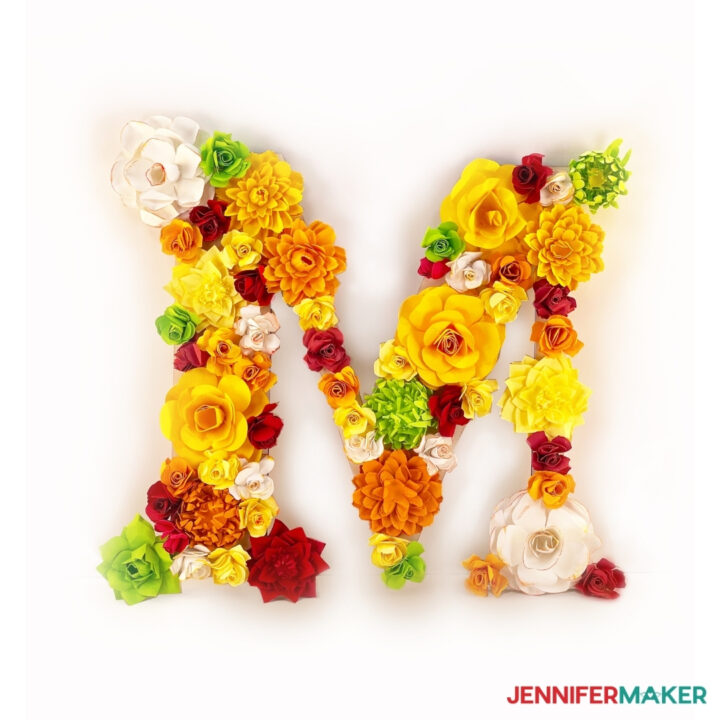
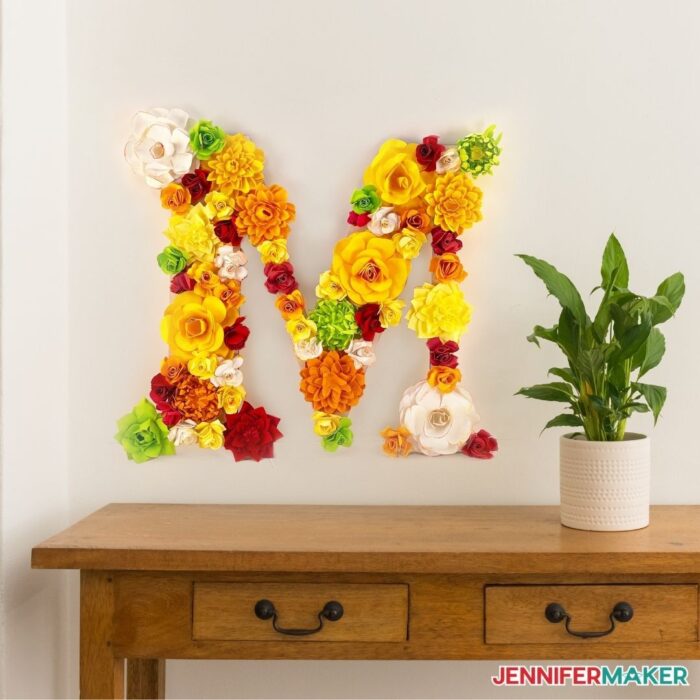
What a great way to spruce up a nursery or jazz up your home decor! Paper flowers are so popular and adding them to these wooden letters is so fun and easy!
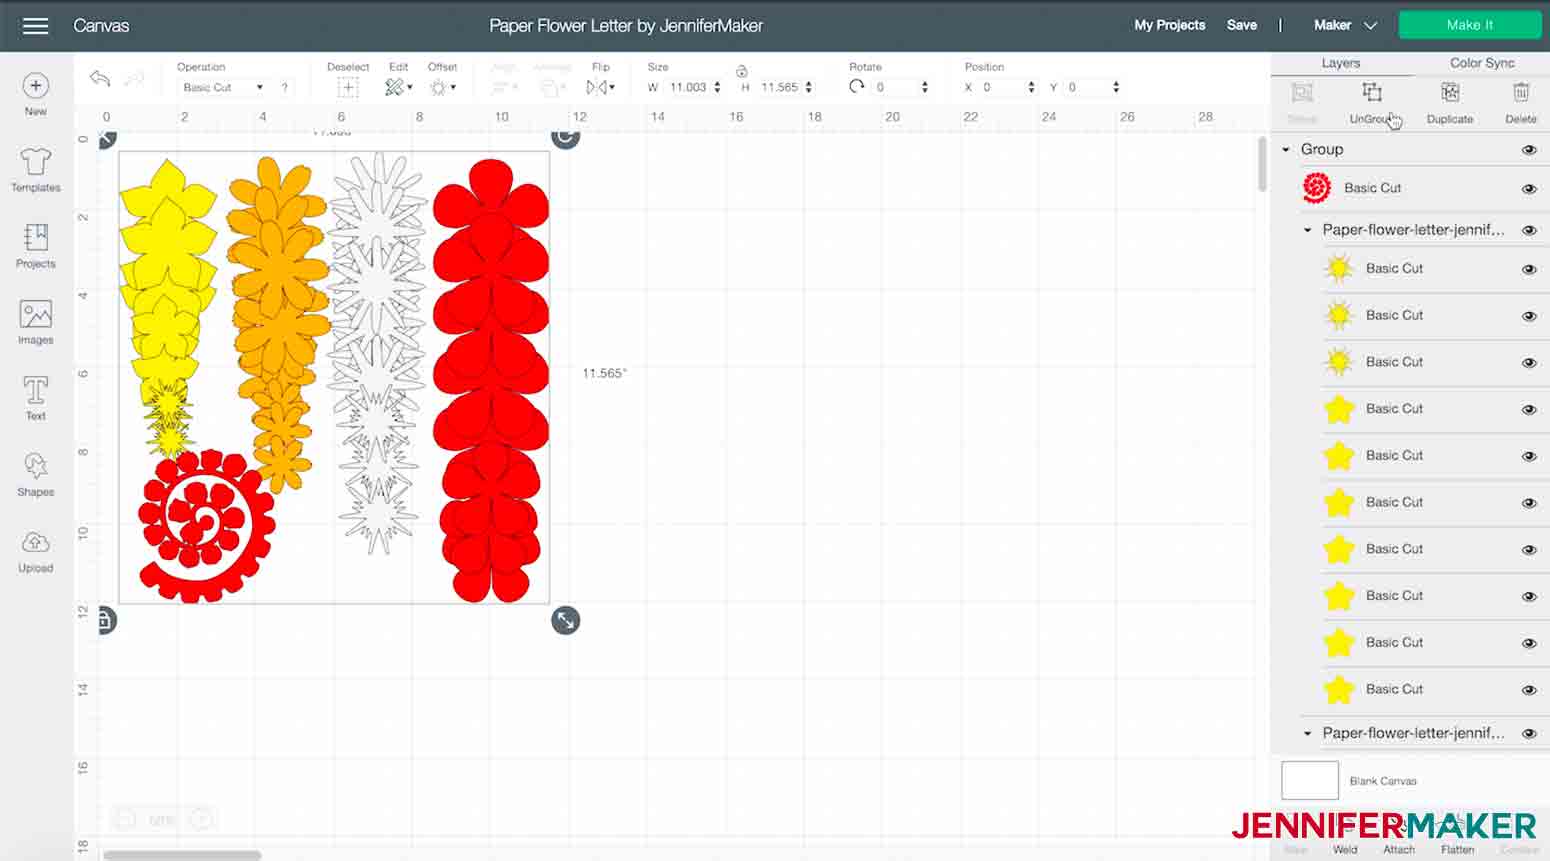
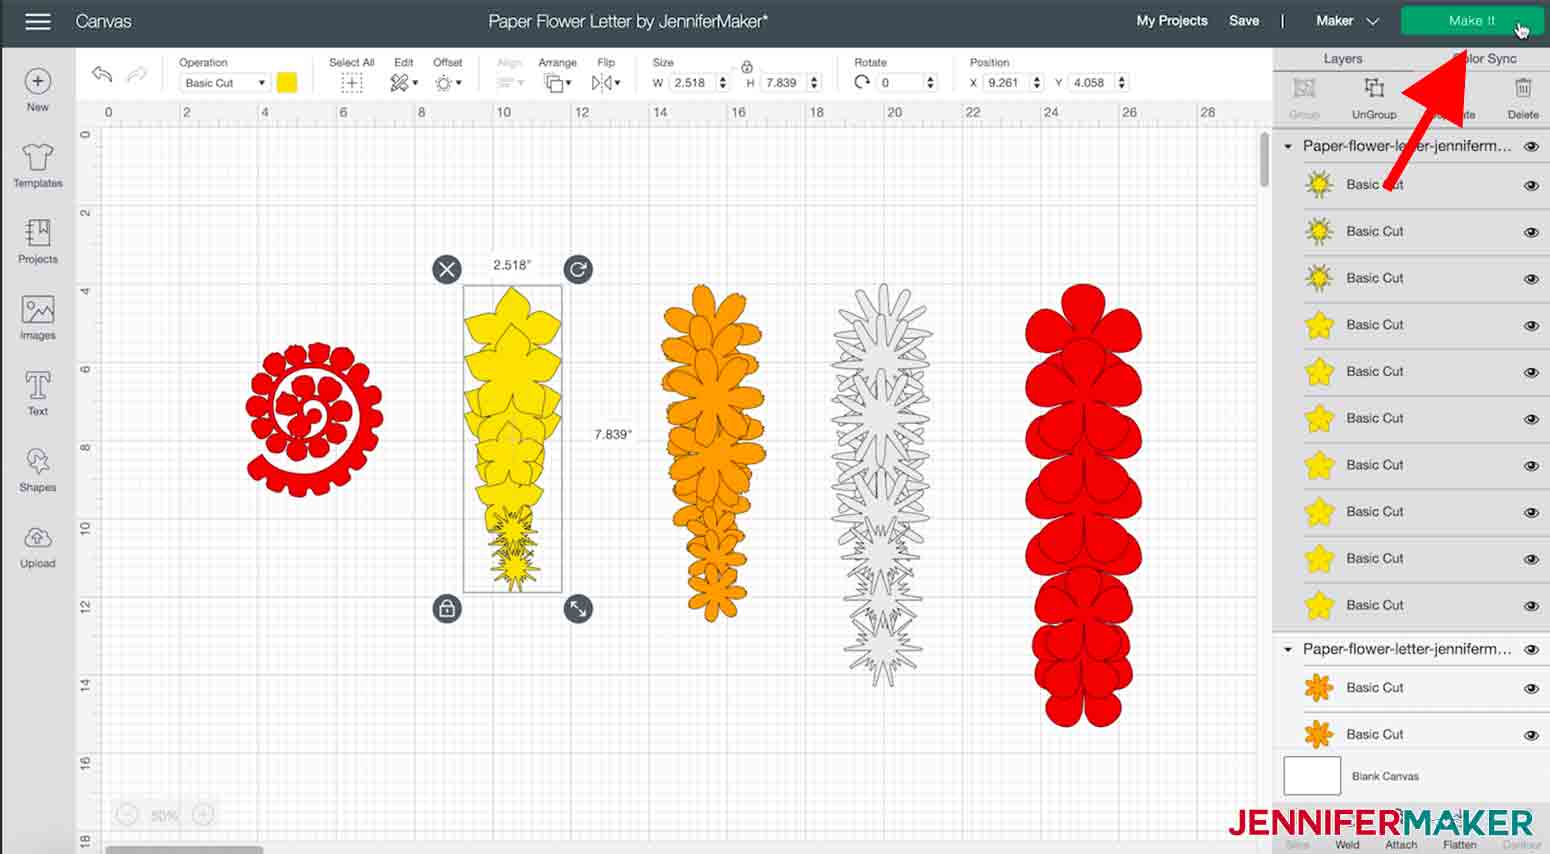
First, download my free Paper Flower Letter SVG/DXF/PDF, Design #303, from my free resource library. If you're going to cut it on your cutting machine, upload the file to your design software. This is what my Paper Flower Letter SVG file looks like in Cricut Design Space.
TIP: If you are not sure how to upload an SVG cut file to Cricut Design Space, watch this helpful video training series I made. If you are on an iPad or iPhone, here is how to download and upload SVG files to the Cricut Design Space app.
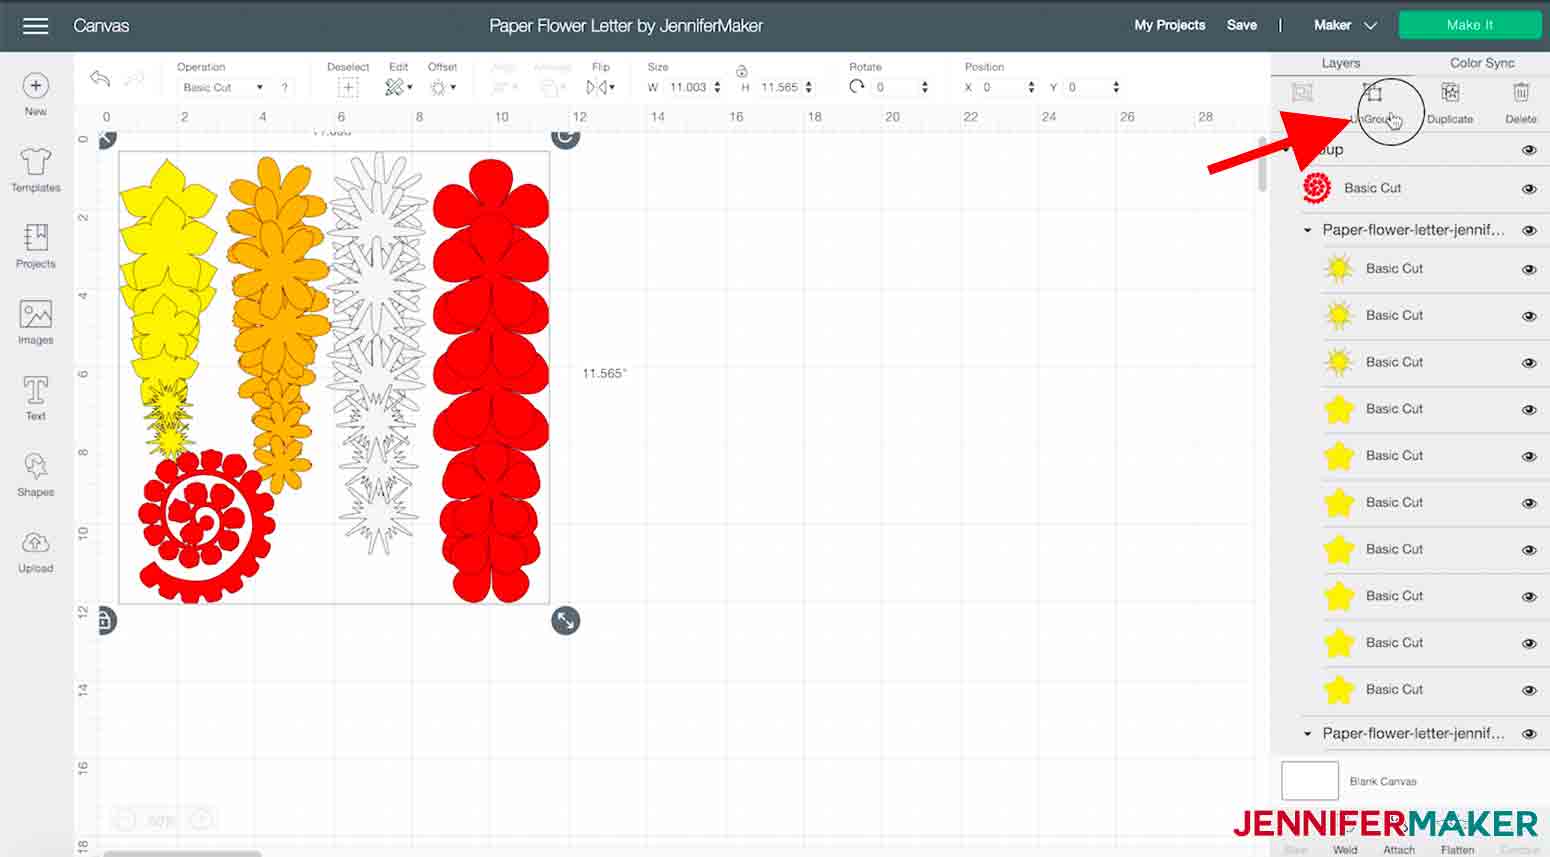
The first thing you will want to do is to ungroup the Paper Flower Letter design file.
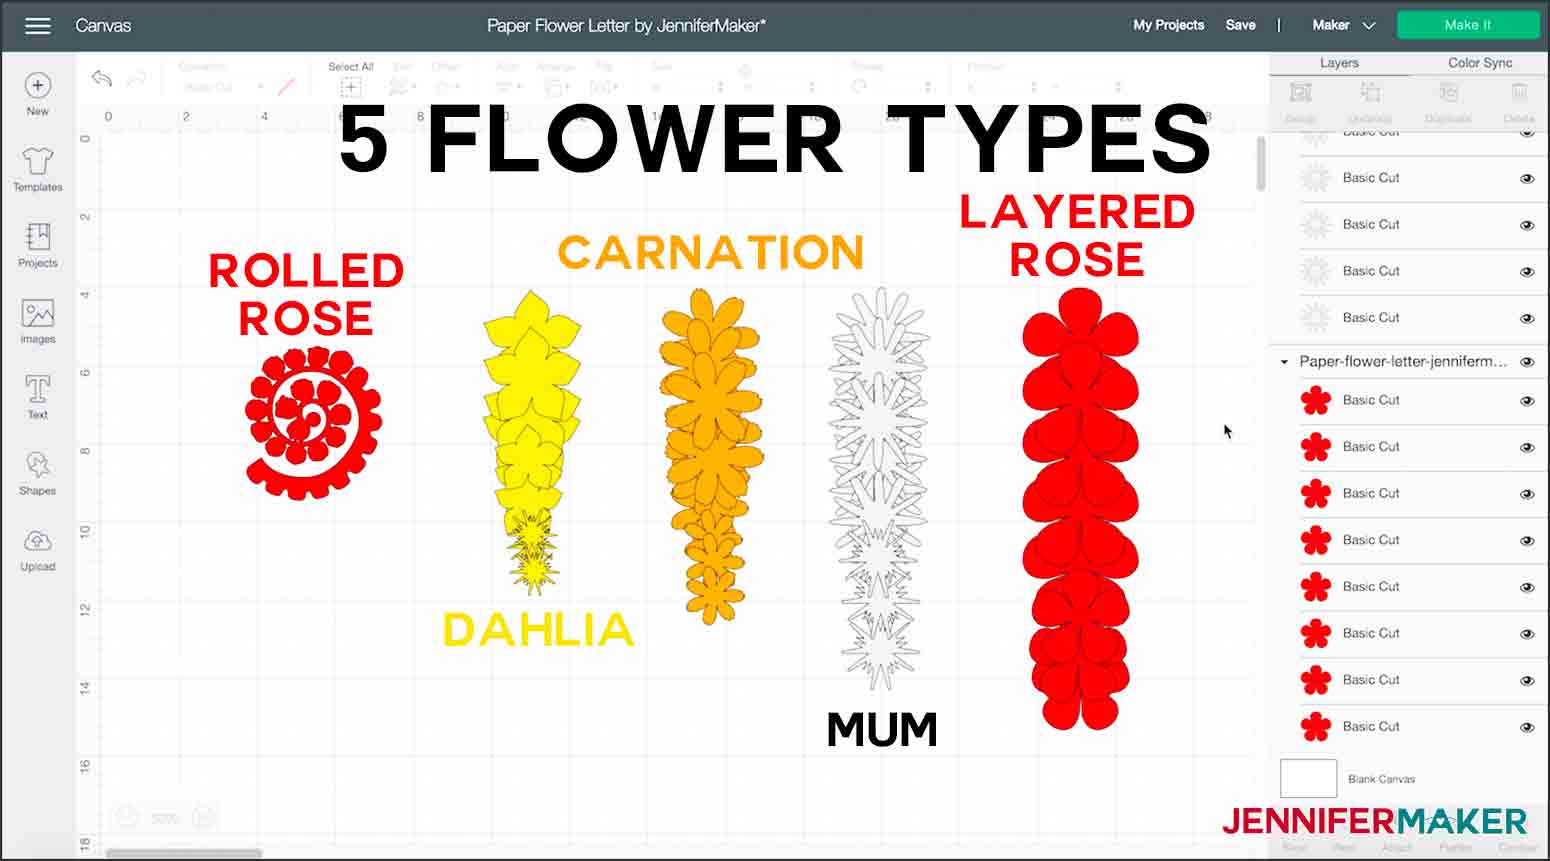
I have moved the groups of flowers apart and labeled them in the screenshot to better show each group and indicate how many pieces make up each flower.
As you can see, my design contains a pattern for 5 different flowers, from left to right, a Rolled Paper Rose, a Layered Dahlia, Layered Carnation, Layered Mum, and a Layered Rose. Each flower design makes 1 paper flower. So for example, the yellow star-shaped flower (Dahlia) has 10 pieces total: 3 center pieces, 3 medium petals, and 4 larger petals, which when assembled, make one paper Dahlia flower.
It's totally up to you how many paper flowers and what types of flowers you use to decorate your wooden initial. I used approximately 58 flowers total (4 Dahlias, 3 Mums, 5 Layered Roses, 3 Layered Carnations, and 43 Rolled Roses) and they were all kept the same size as they were in the Paper Flower Letter SVG file.
If you want to change the flower sizes, make sure to keep all the elements of that flower grouped together so everything gets resized together. With the flower selected, simply click, hold and drag on the bottom right-hand side of the bounding box where you see the two arrows. You can make it bigger or smaller by dragging up or down.


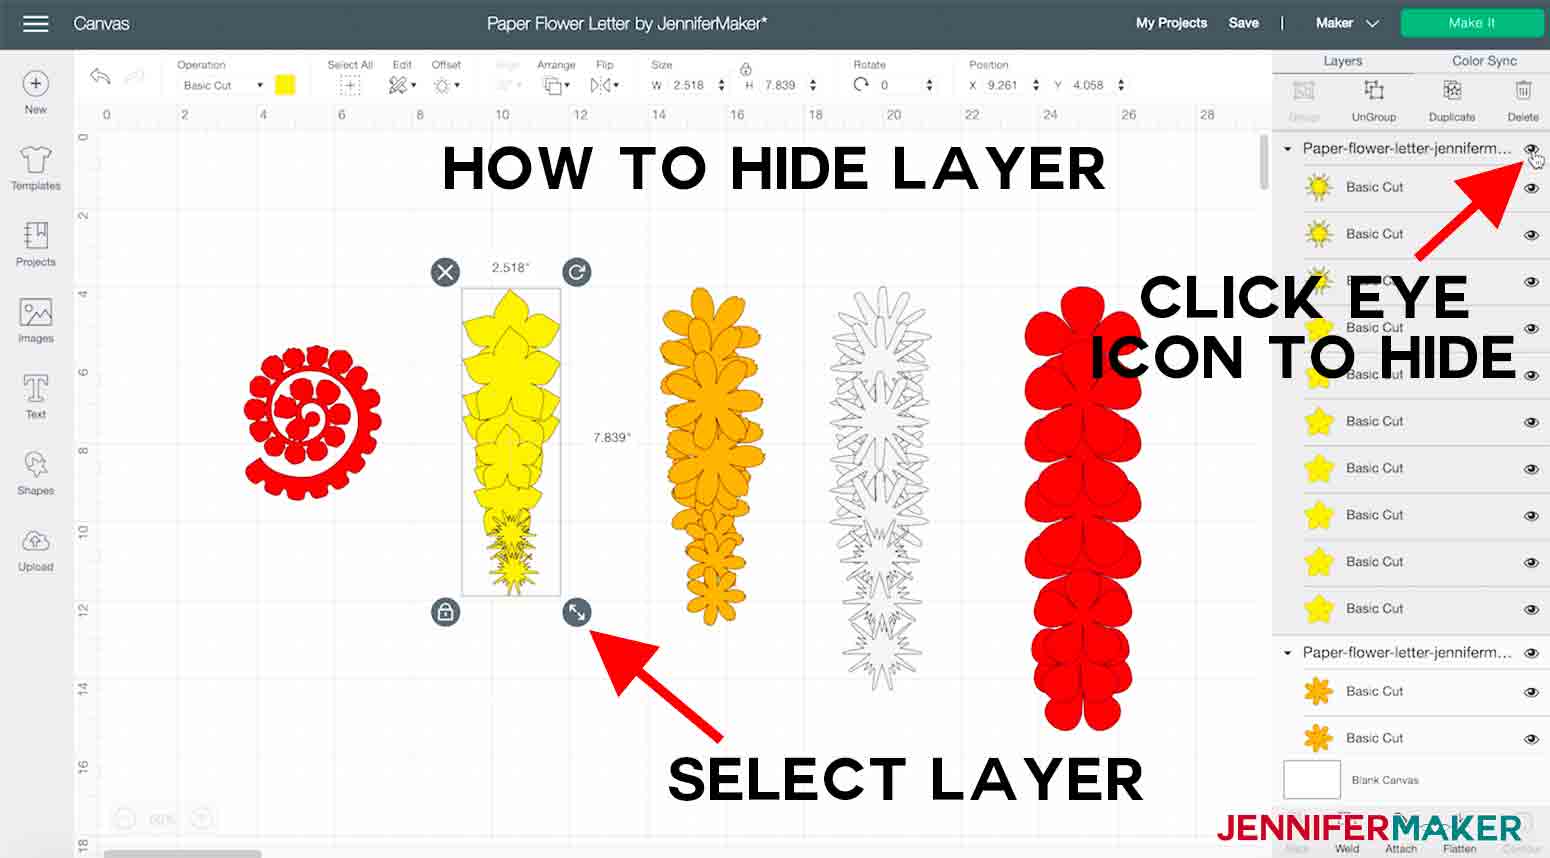
Once you have made a decision on what paper flowers you want to cut, you will want to hide or delete any you do not need.
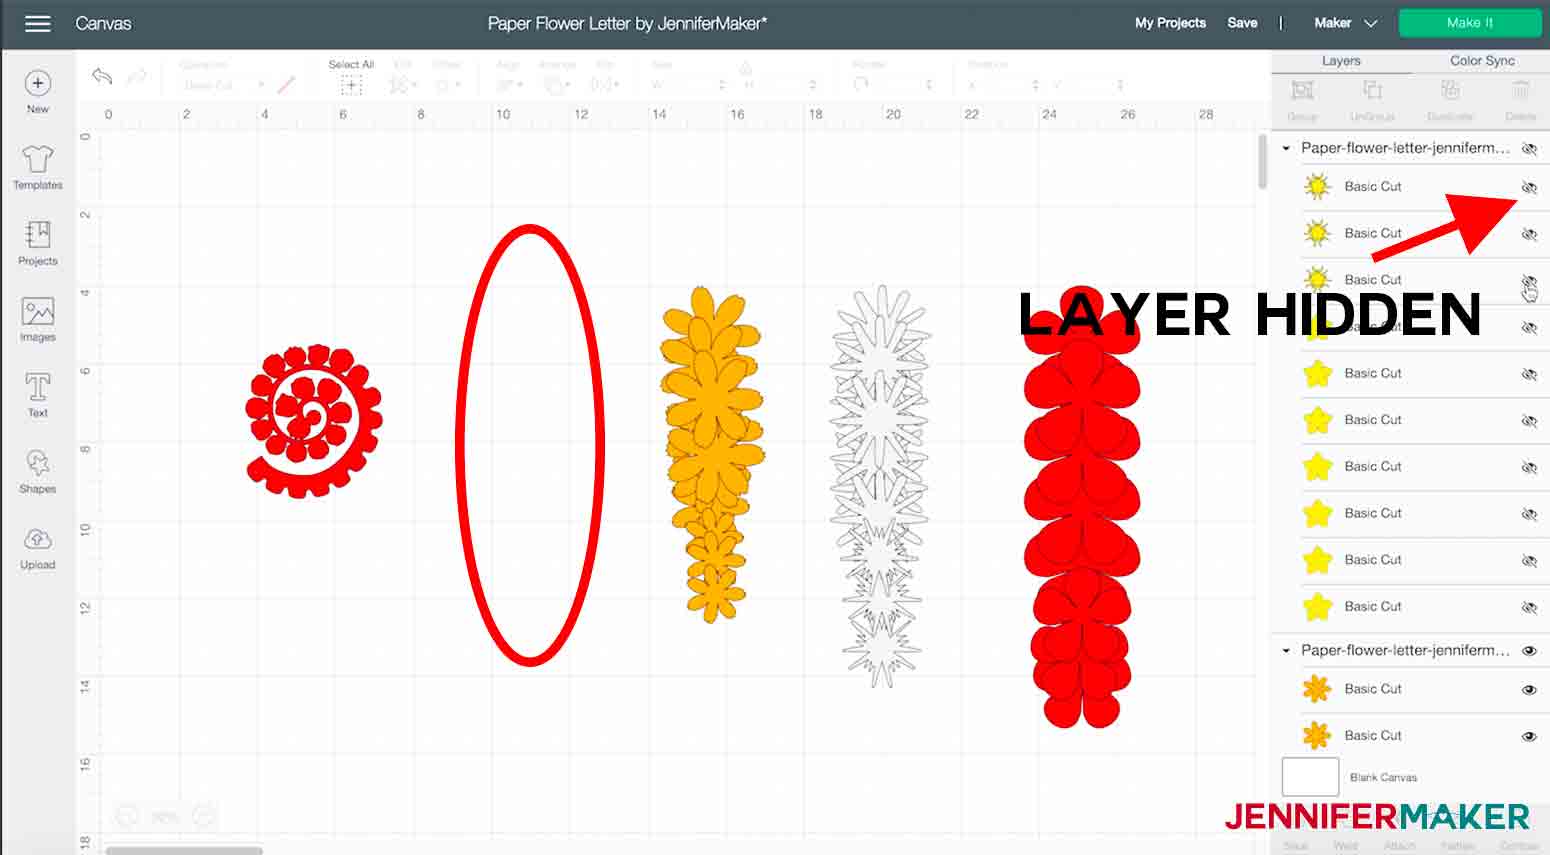
To hide a layer, select the layer and click on the eye icon in the "Layers" panel.
It will be removed from the canvas and the eye icon will be crossed out. Simply click again if you want it back.
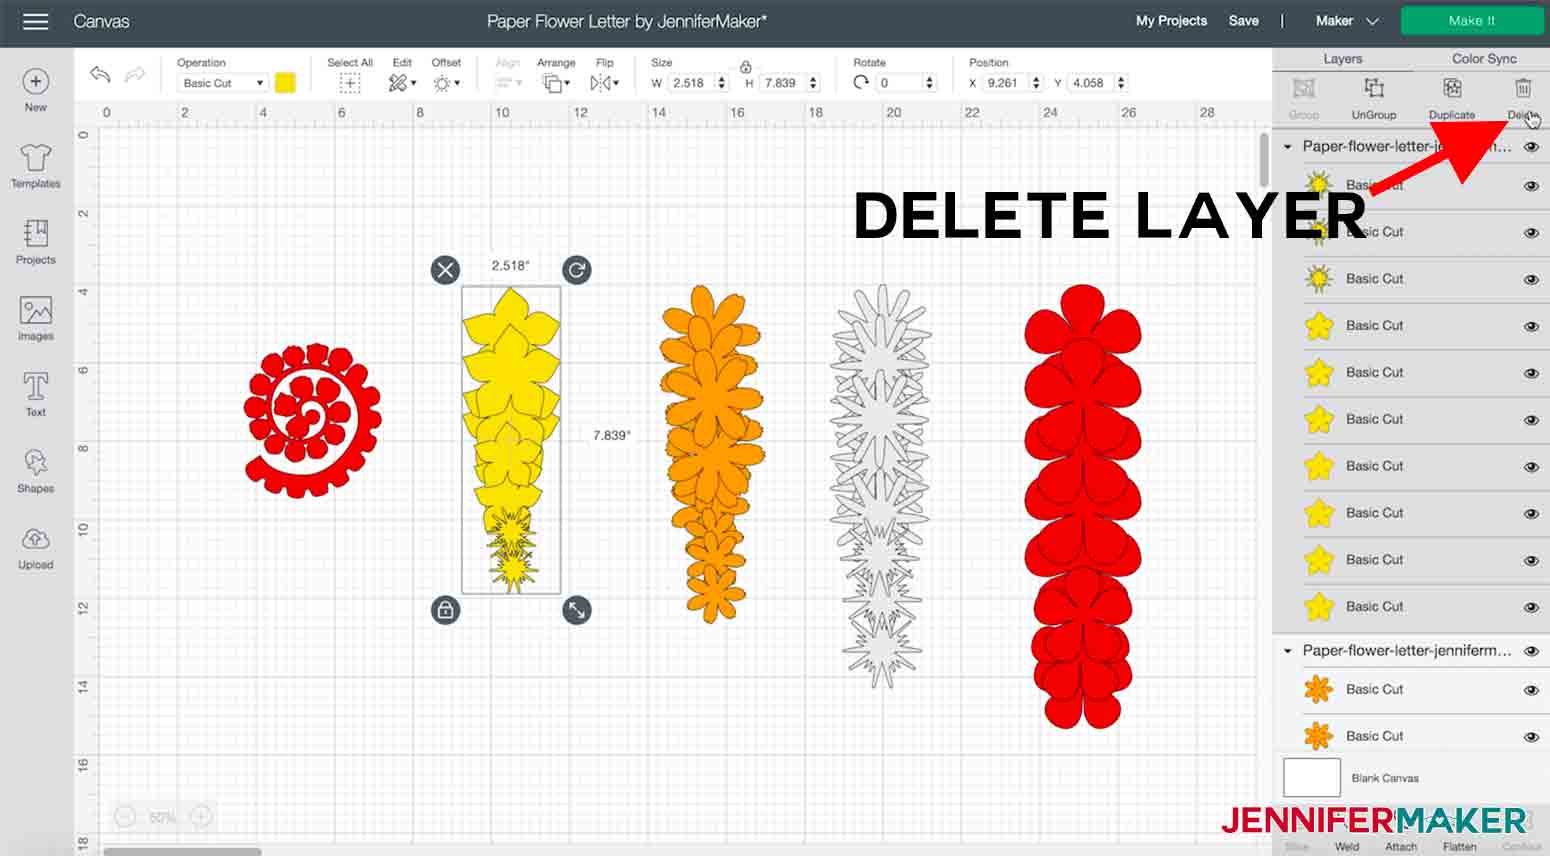
To delete a layer, select the layer and simply click "Delete" at the top of the "Layers" panel and that layer will be removed.
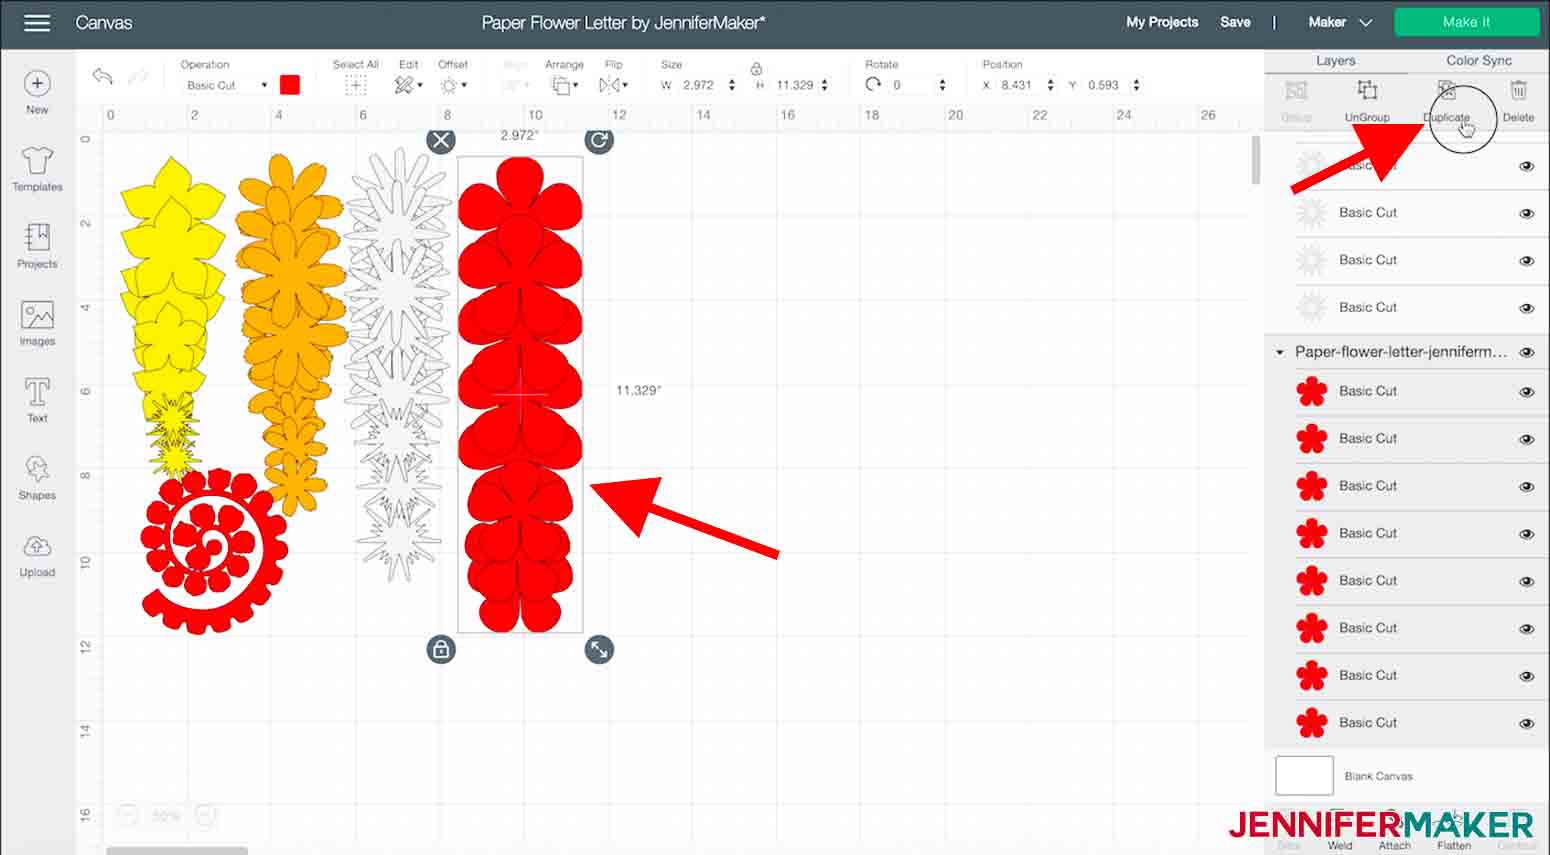
Since you are going to want more than one of each flower you will need to make copies of them or "Duplicate" them. You can do this by selecting the flower and clicking on the "Duplicate" button at the top of the "Layers" panel. You can duplicate each flower as many times as you like. Again I used a total of 58 paper flowers on my Paper Flower Letter to give you an idea of how many you may want. You don't have to cut out different numbers of paper flowers like I did. If you'd rather cut the same number of each flower, let me show you how!
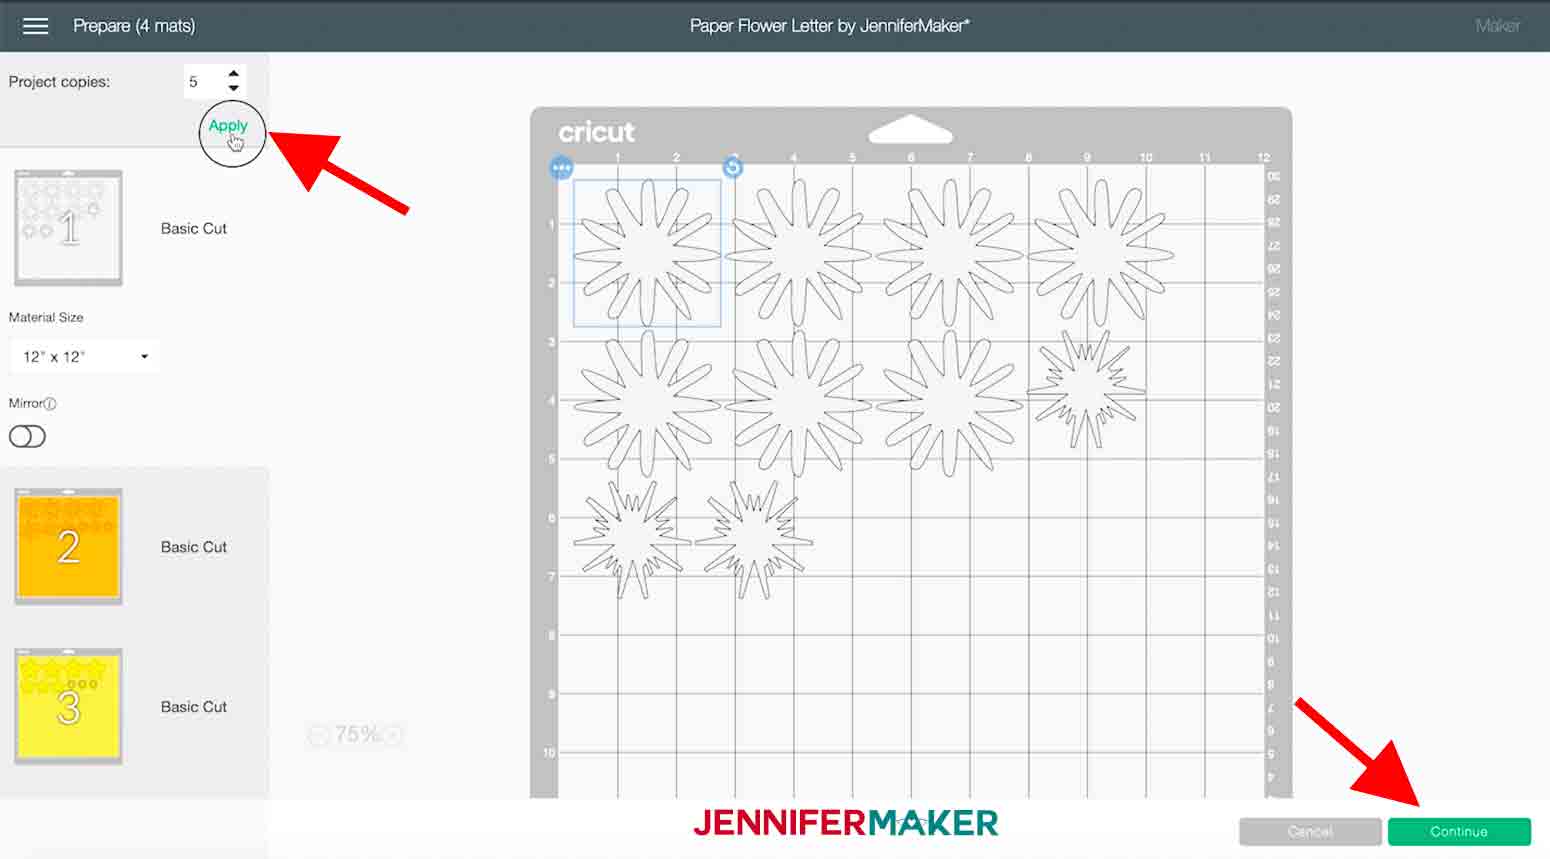
On the next screen, you can duplicate your entire project. So say you want five of each flower, you'd click on the arrow pointing up 5 times and click "Apply." Now the machine will know to make 5 copies of your project. Next, click the green "Continue" button in the lower right-hand corner. Isn't that cool?
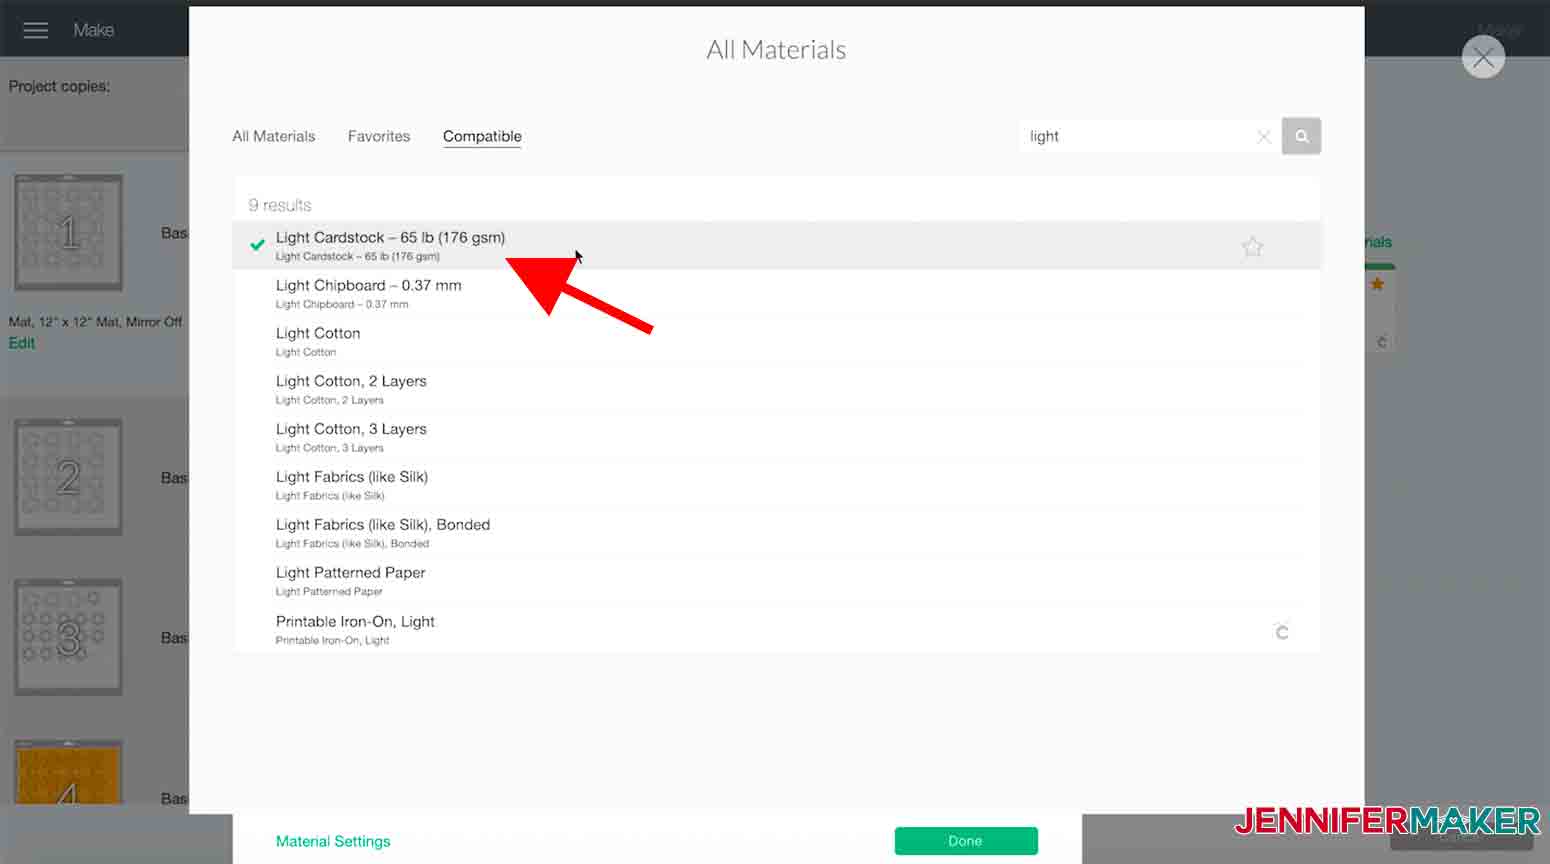
On the next screen, you will select your material. I used 65 lb. cardstock so I chose the "Light Cardstock" setting.
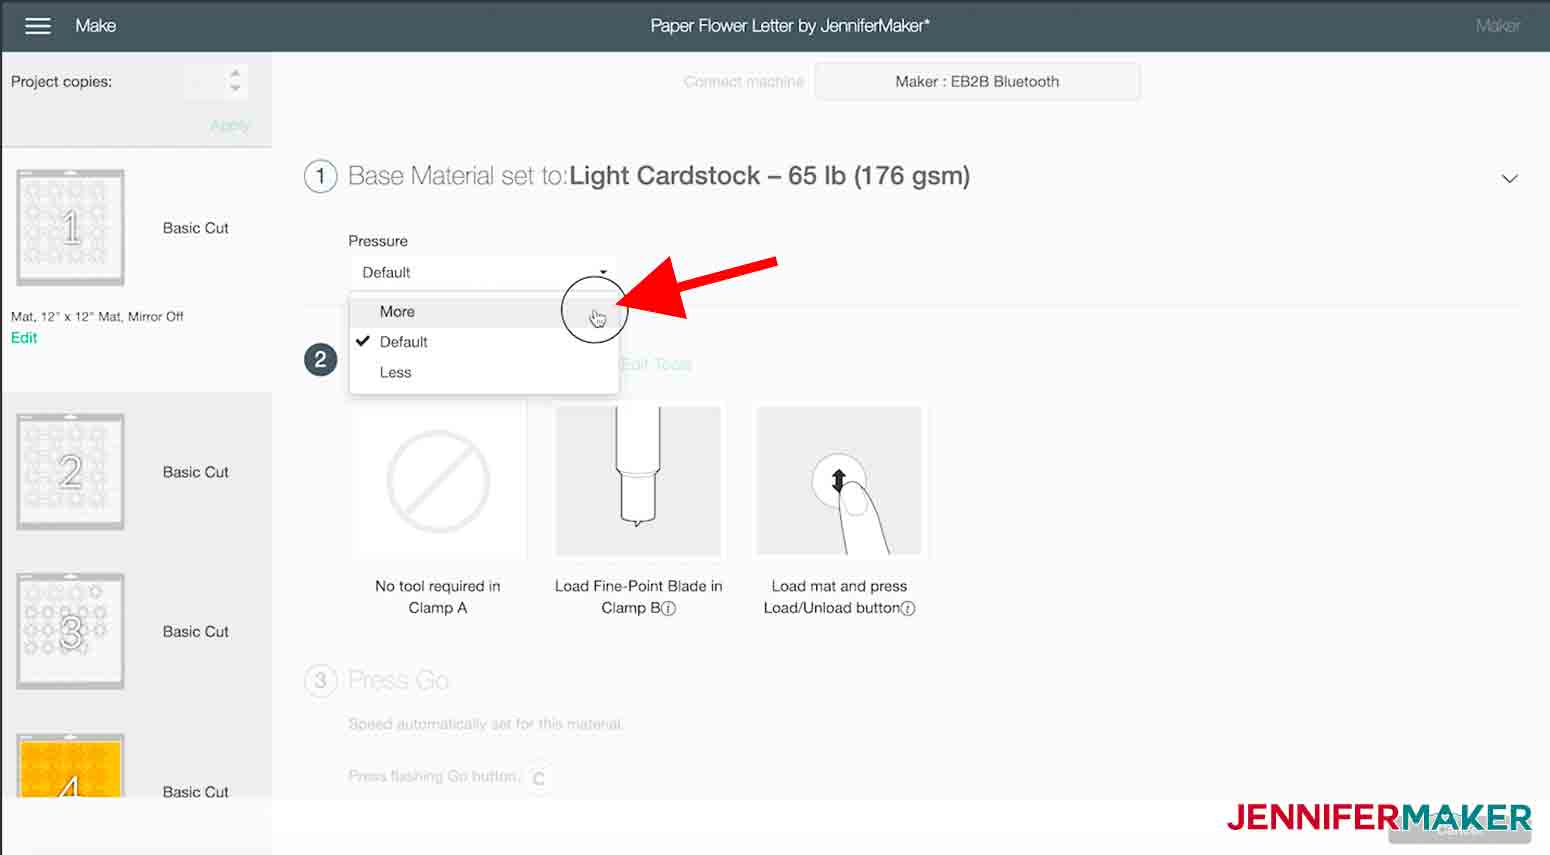
I always like to select "More" for the "Pressure" setting to make sure I get clean cuts.
Place your cardstock on a Cricut Green Standard Grip Machine Mat and load it into your machine.

Then press the other flashing button to begin your cut.

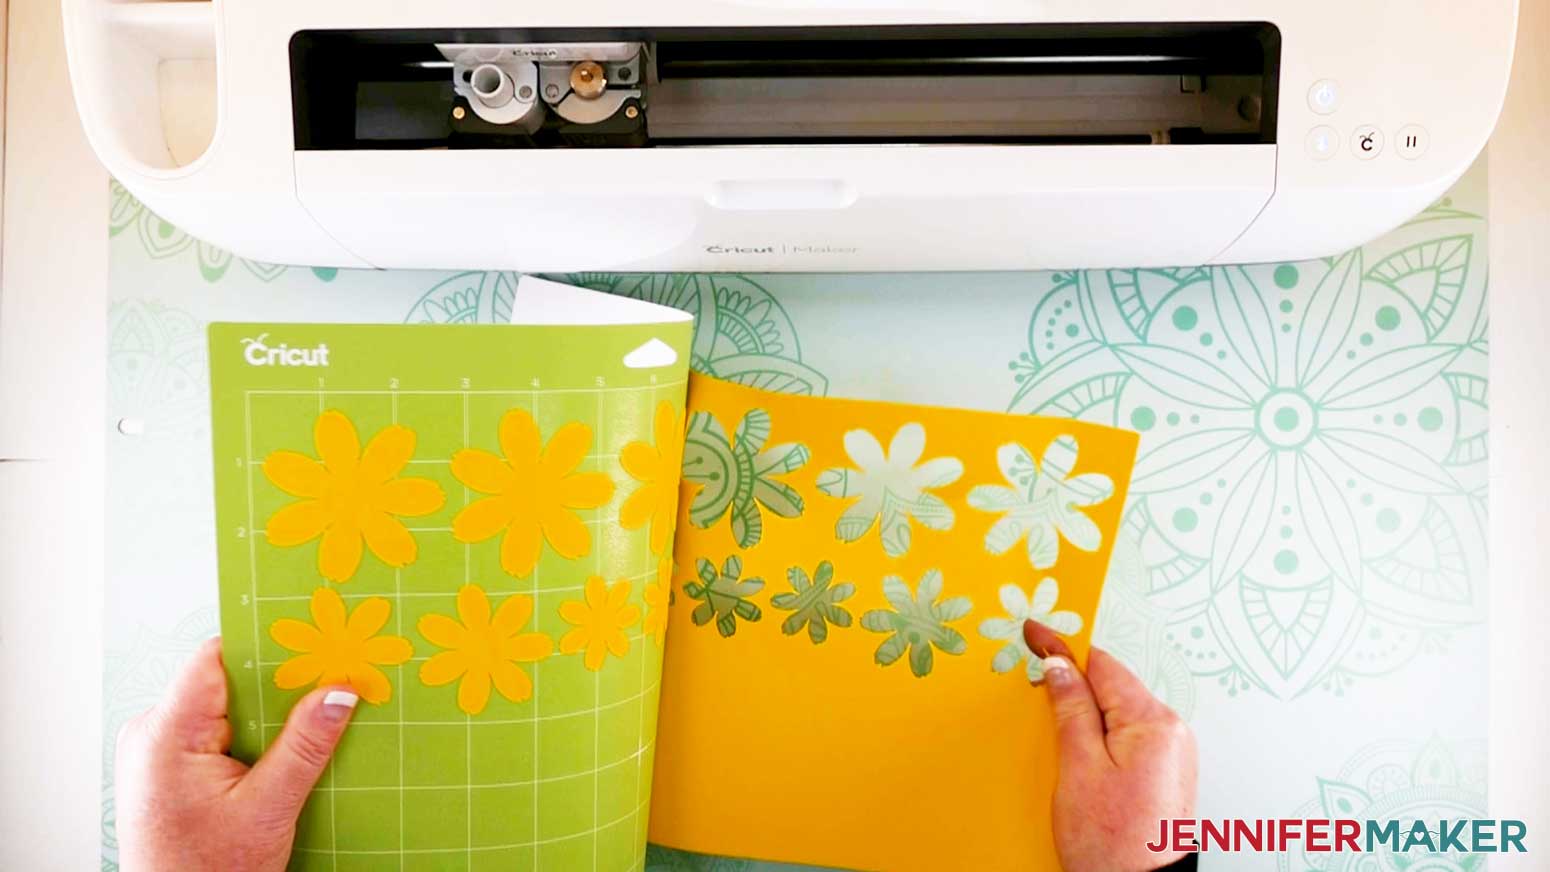
Once the cut is complete flip your Machine Mat over to remove your cardstock to keep it from curling. Use your scraper to remove any leftover paper from the mat.
Now I'll show you how to make each paper flower!
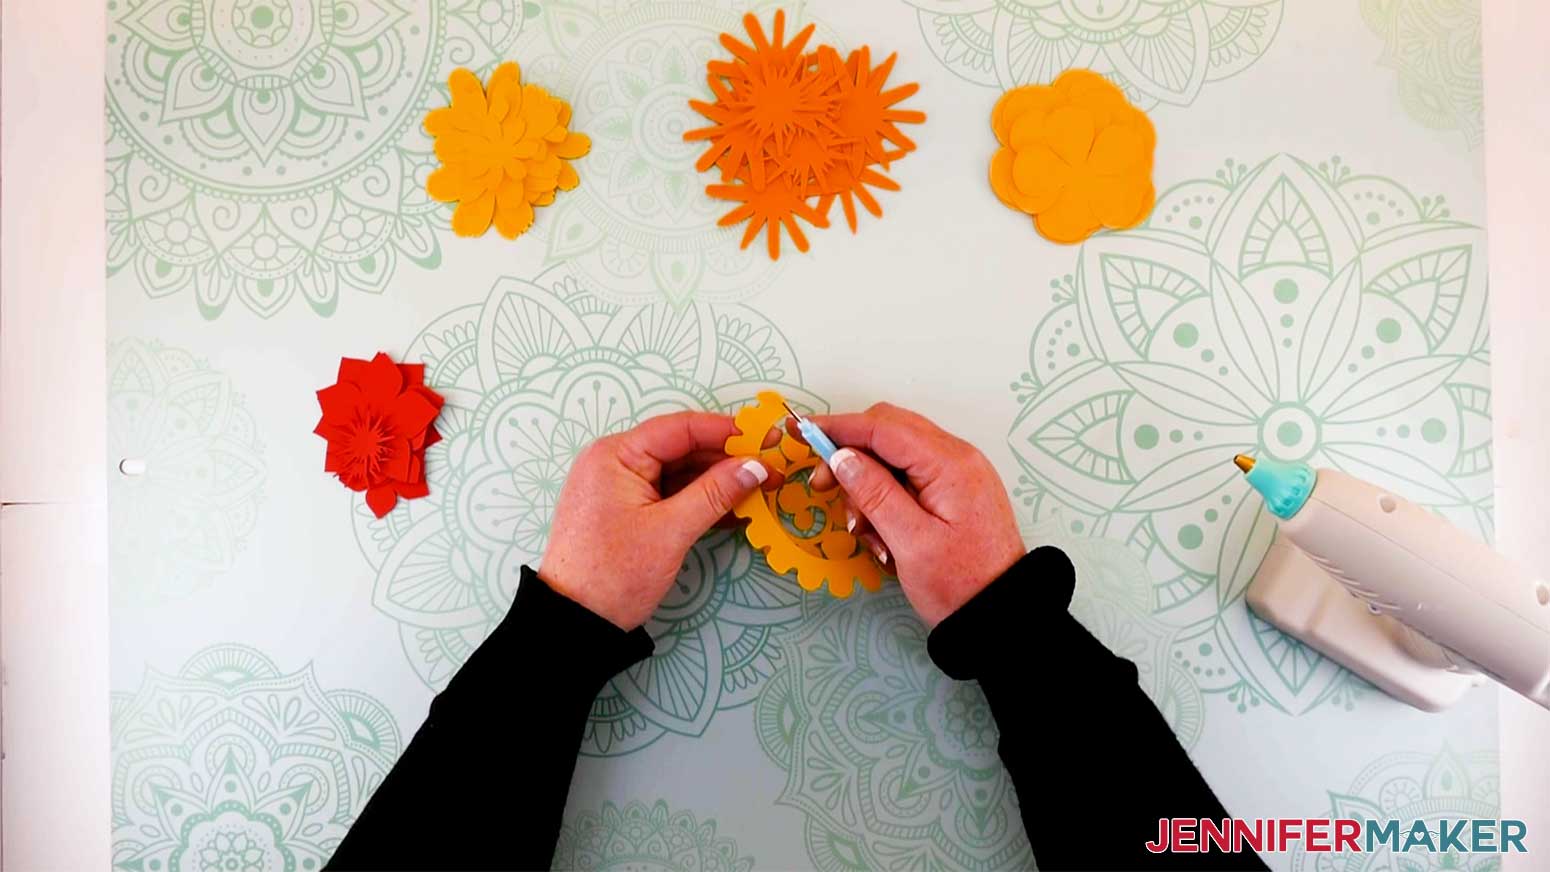
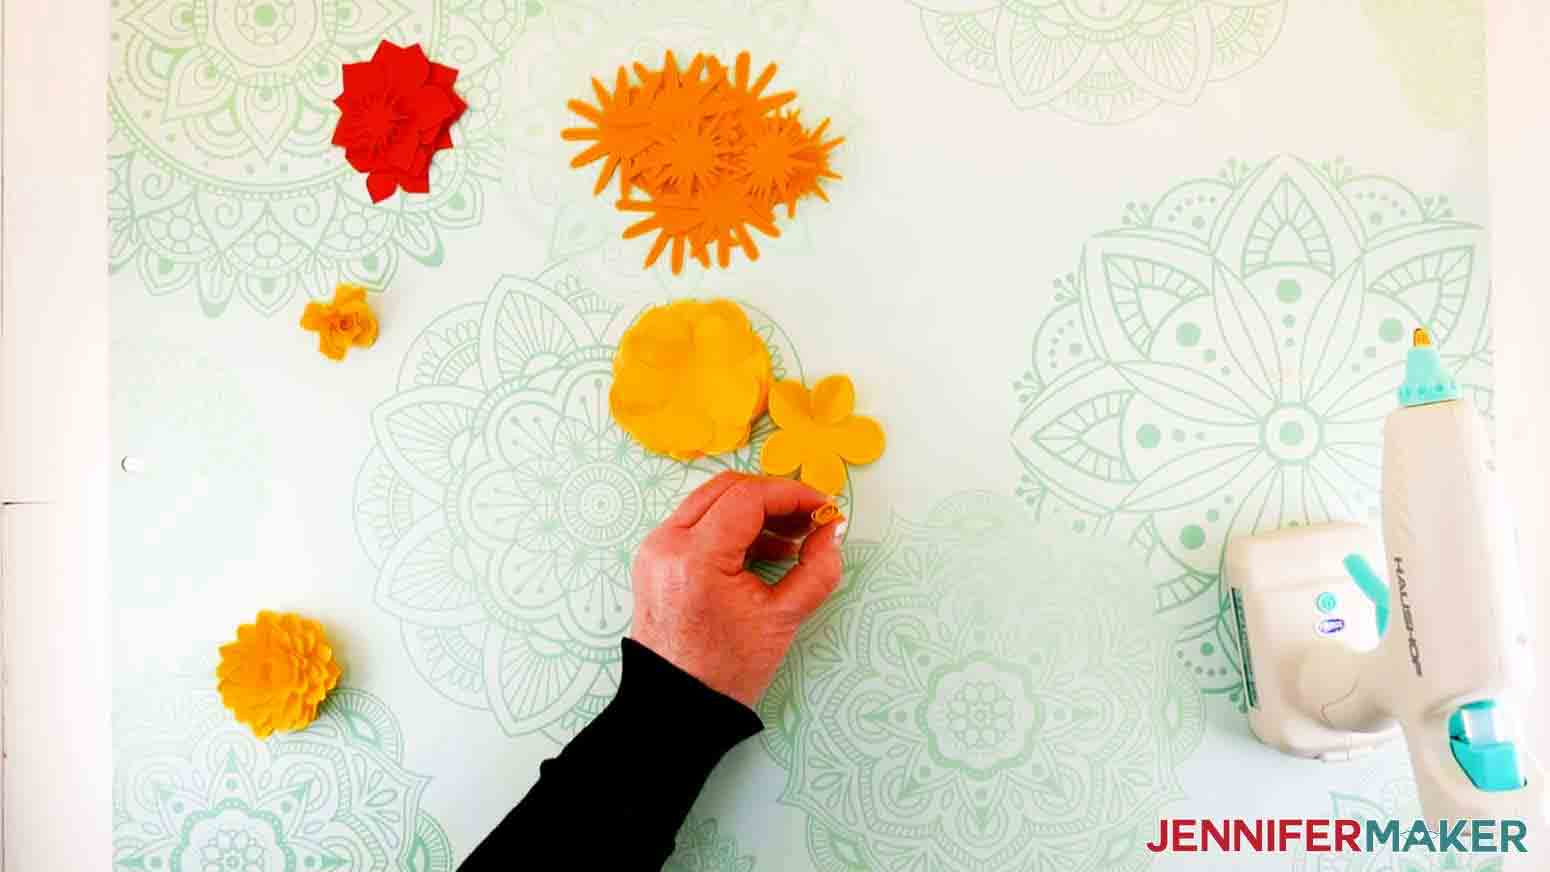
Let's start with the Rolled Rose.
Insert the end of the flower into the slot of your quilling tool and start rolling. Use one hand to spin the quilling tool and the other to hold the cardstock in place as you roll.
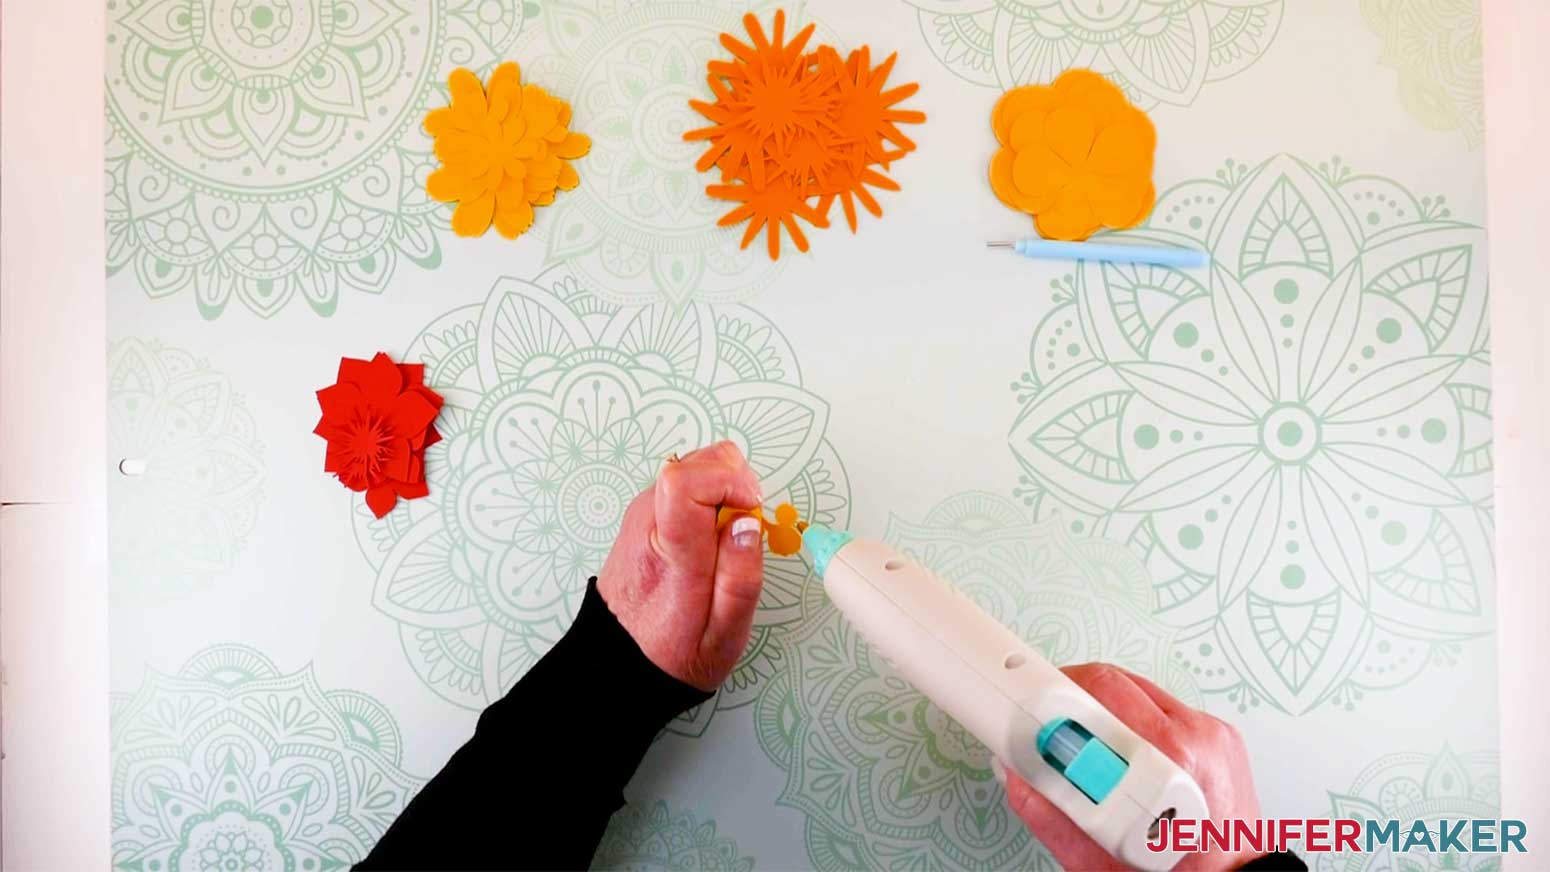
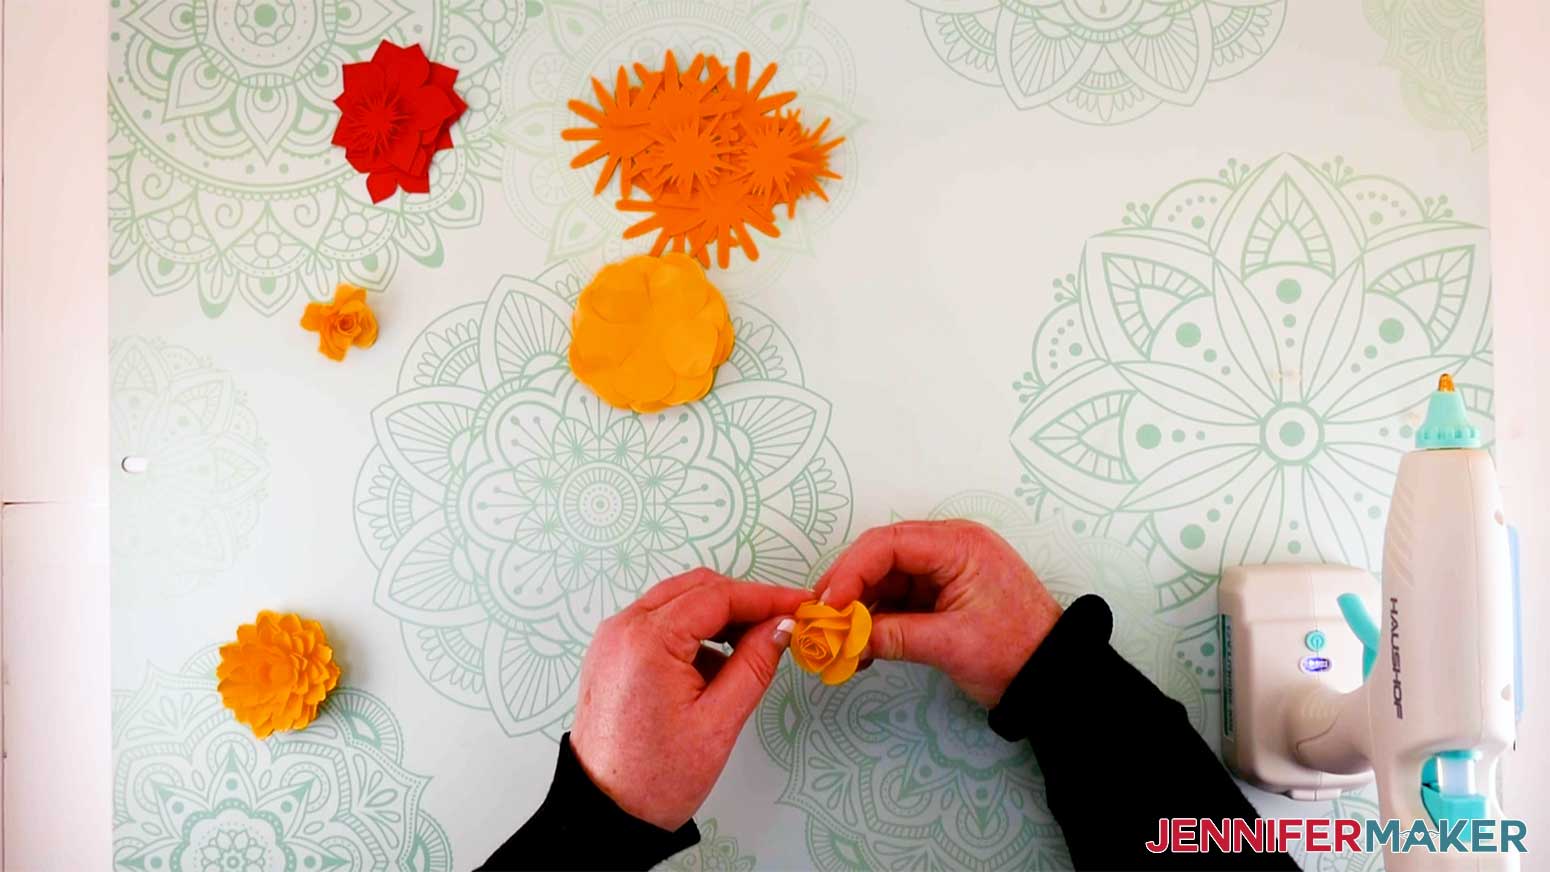
When you reach the end, remove the flower from the quilling tool, put a dab of hot glue on the tab, and press it into the flower.
Once the glue has dried, curl the petals of the flower over the end of the quilling tool to give it that realistic rose shape.
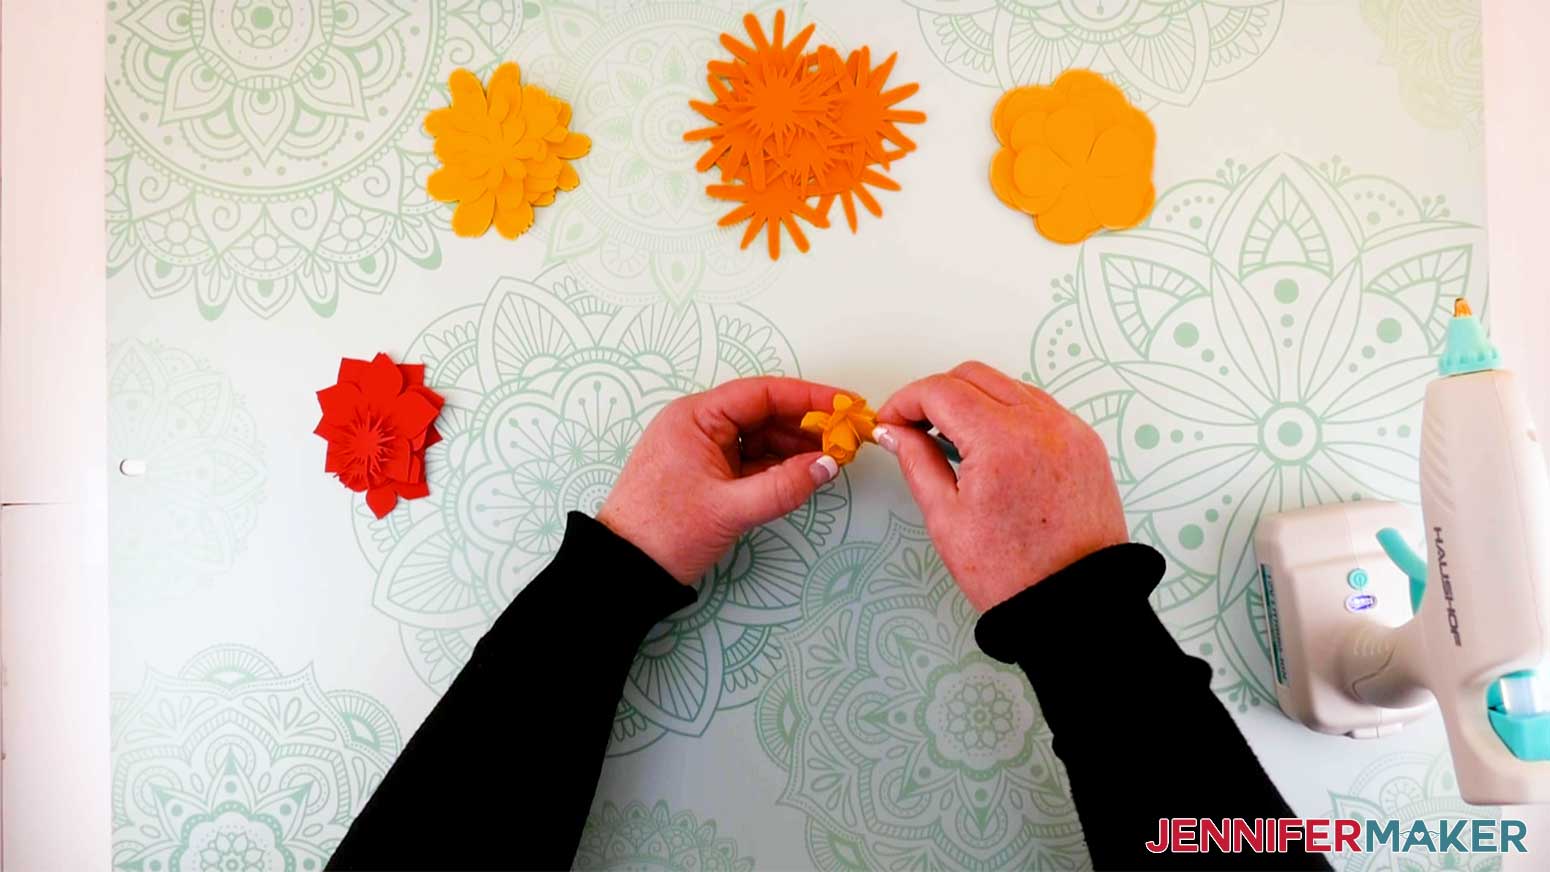
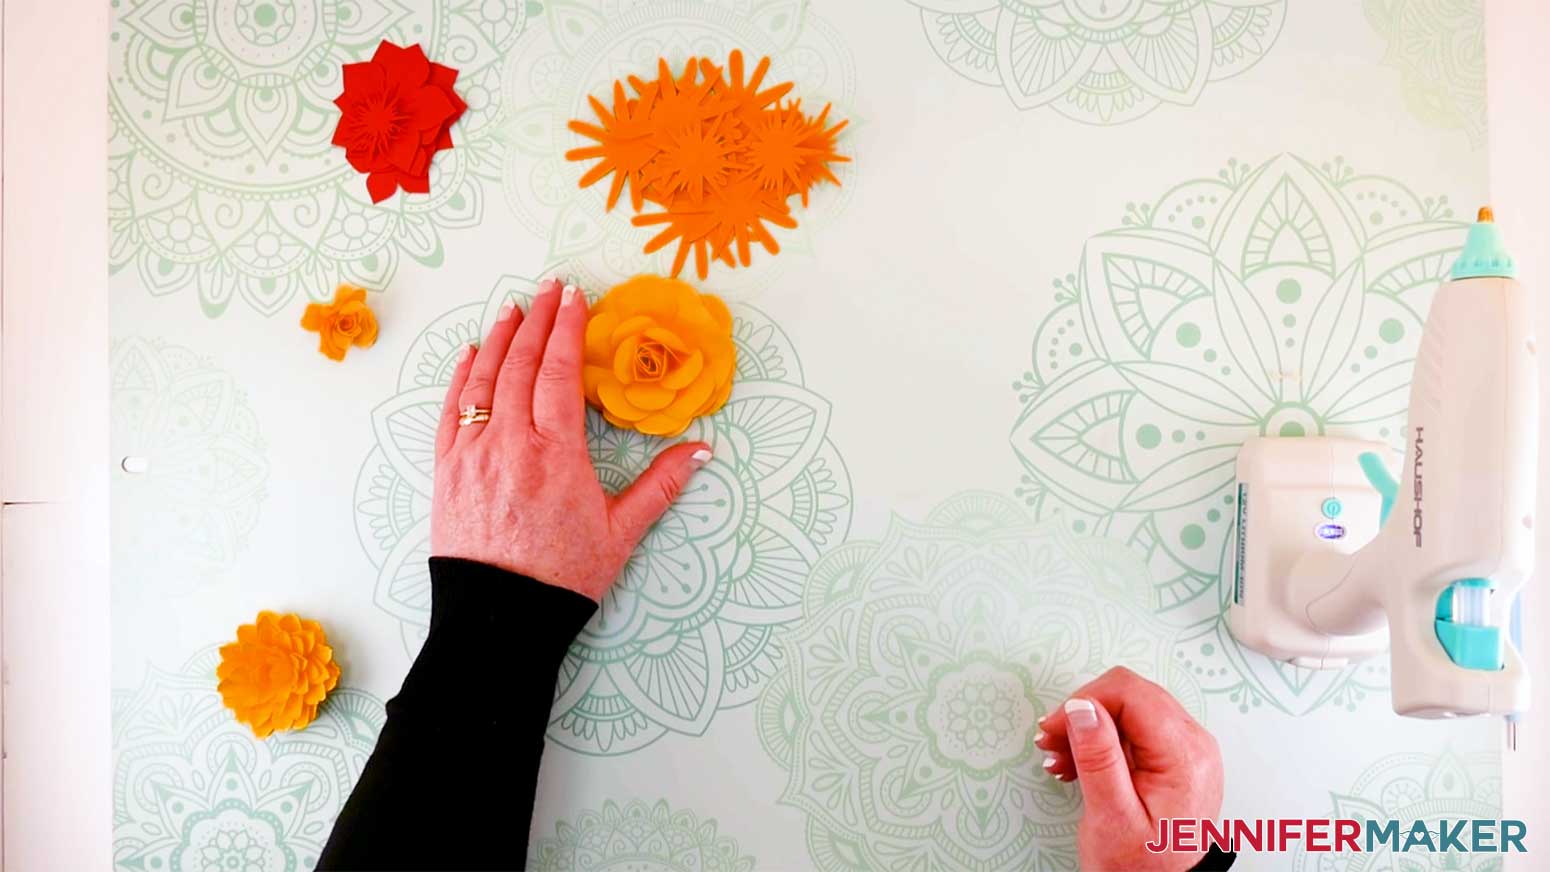
Here is what the finished Rolled Rose will look like after petals are curled!
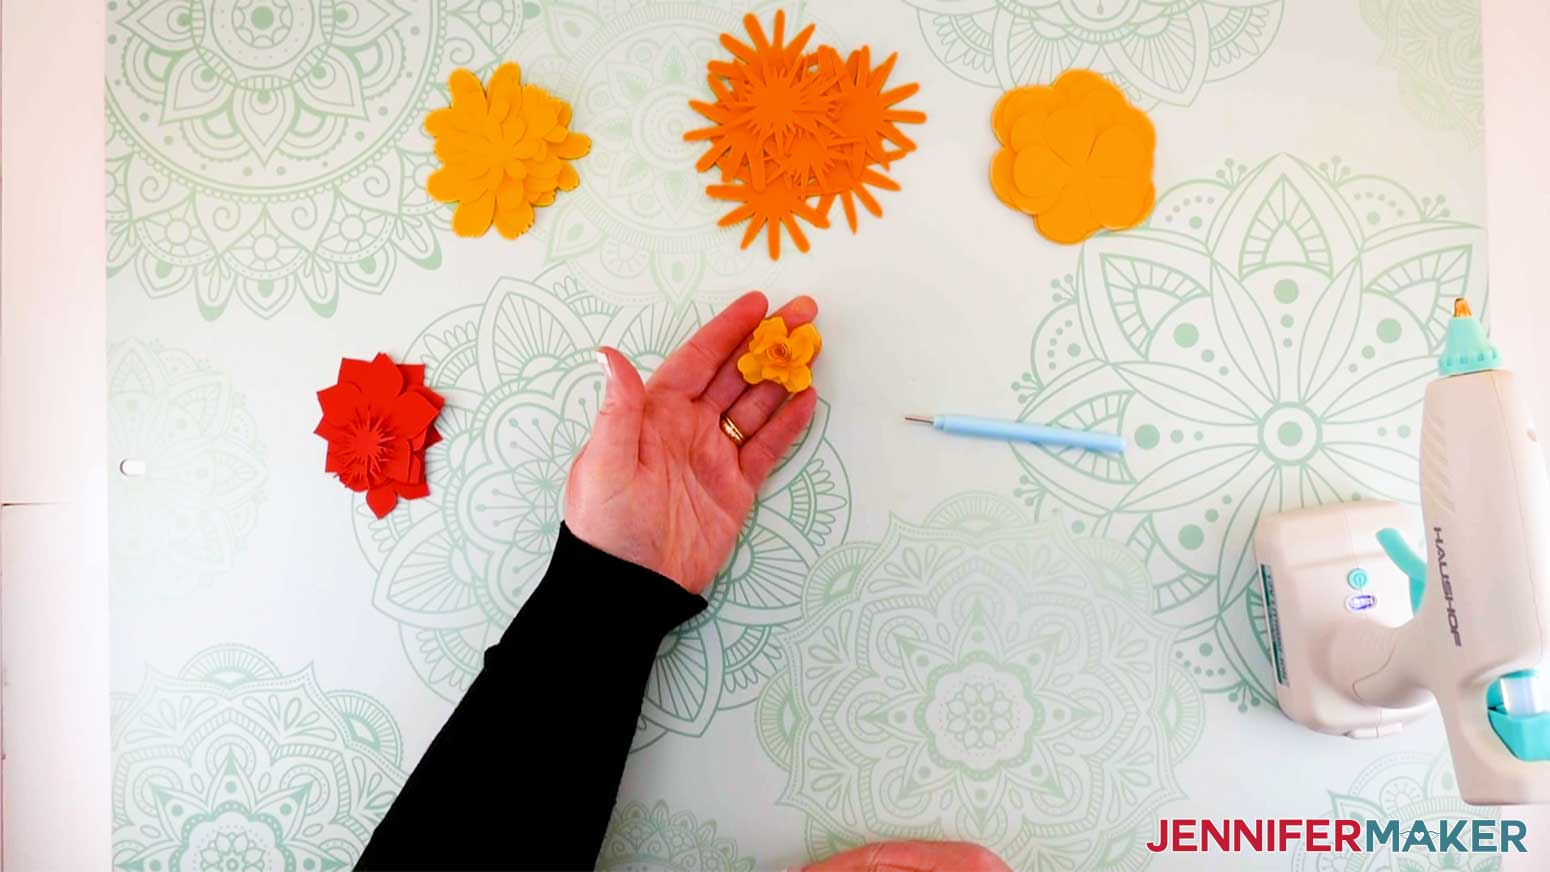
Next, we'll look at the Layered Rose and the Layered Carnation. Both are put together the same way. So I will show you the Layered Rose, and you will just repeat the same steps for the Carnation.
First, separate the flower layers according to size. There will be 3 sizes of petals for each of the flowers. There are a total of 8 petals for the Layered Rose and 10 petals for the Carnation. Take each layer of petals, stack them and pinch the petals together between your fingers to give them some shape. Do this for all three sizes of petals.
Once your petals are pinched, you will want to put each individual petal into the palm of your hand and press it into your hand at the base of each petal. This will curve the petals upwards.
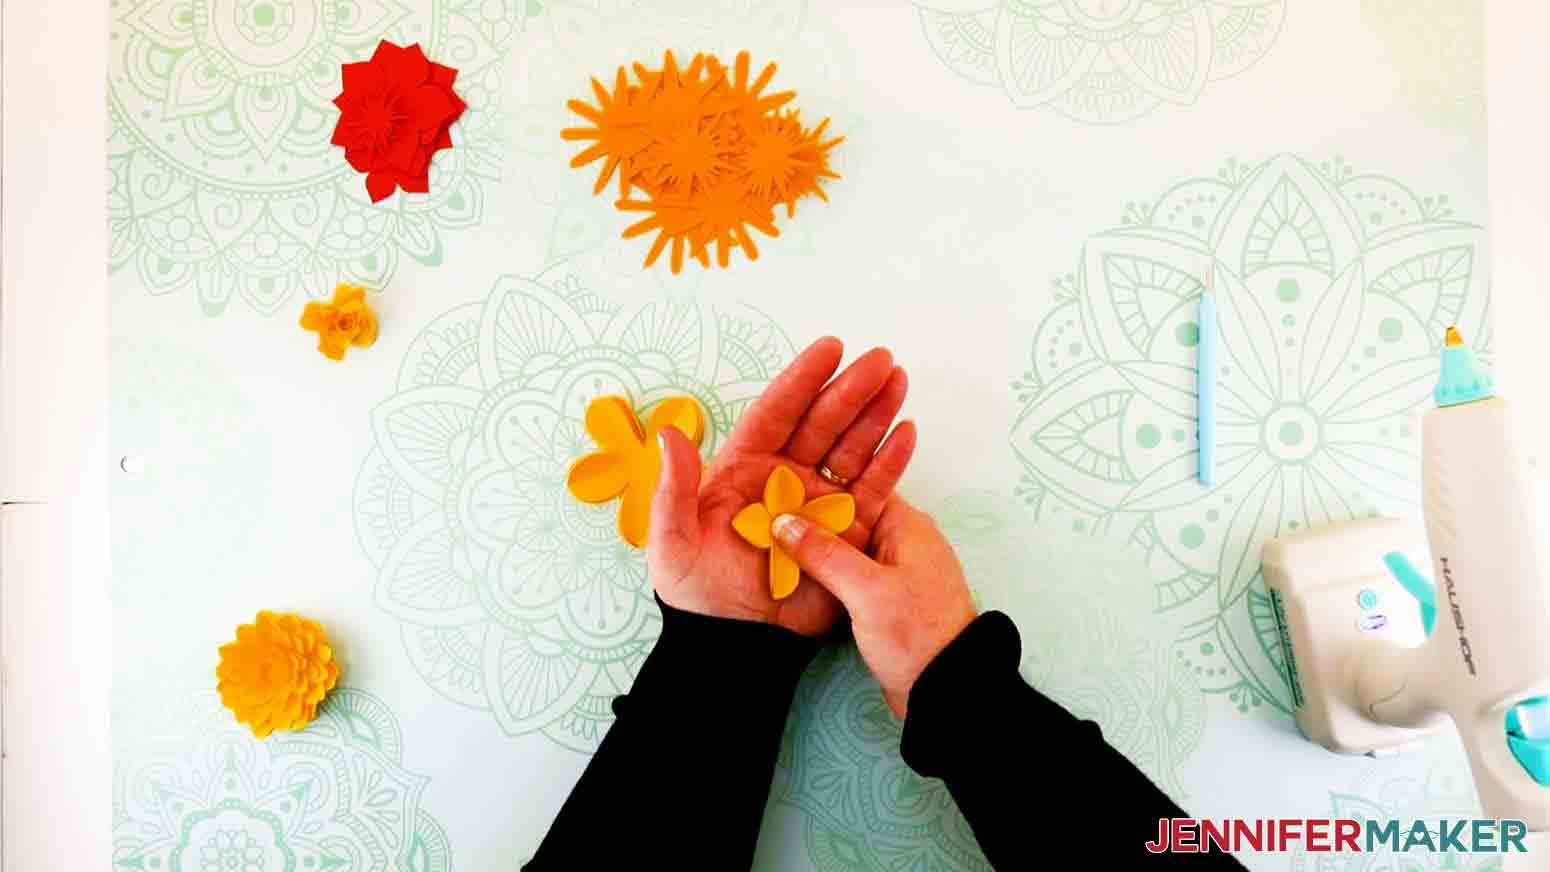
When you have your petals prepared, begin to layer your paper flower by gluing each petal shape into another, trying to straddle the alignment when placing them so that all the petals are not lined up. Bunch the petals together and glue the bottom. Place inside another petal. Continue this process until you have the first set of petals that are the same size all glued together.
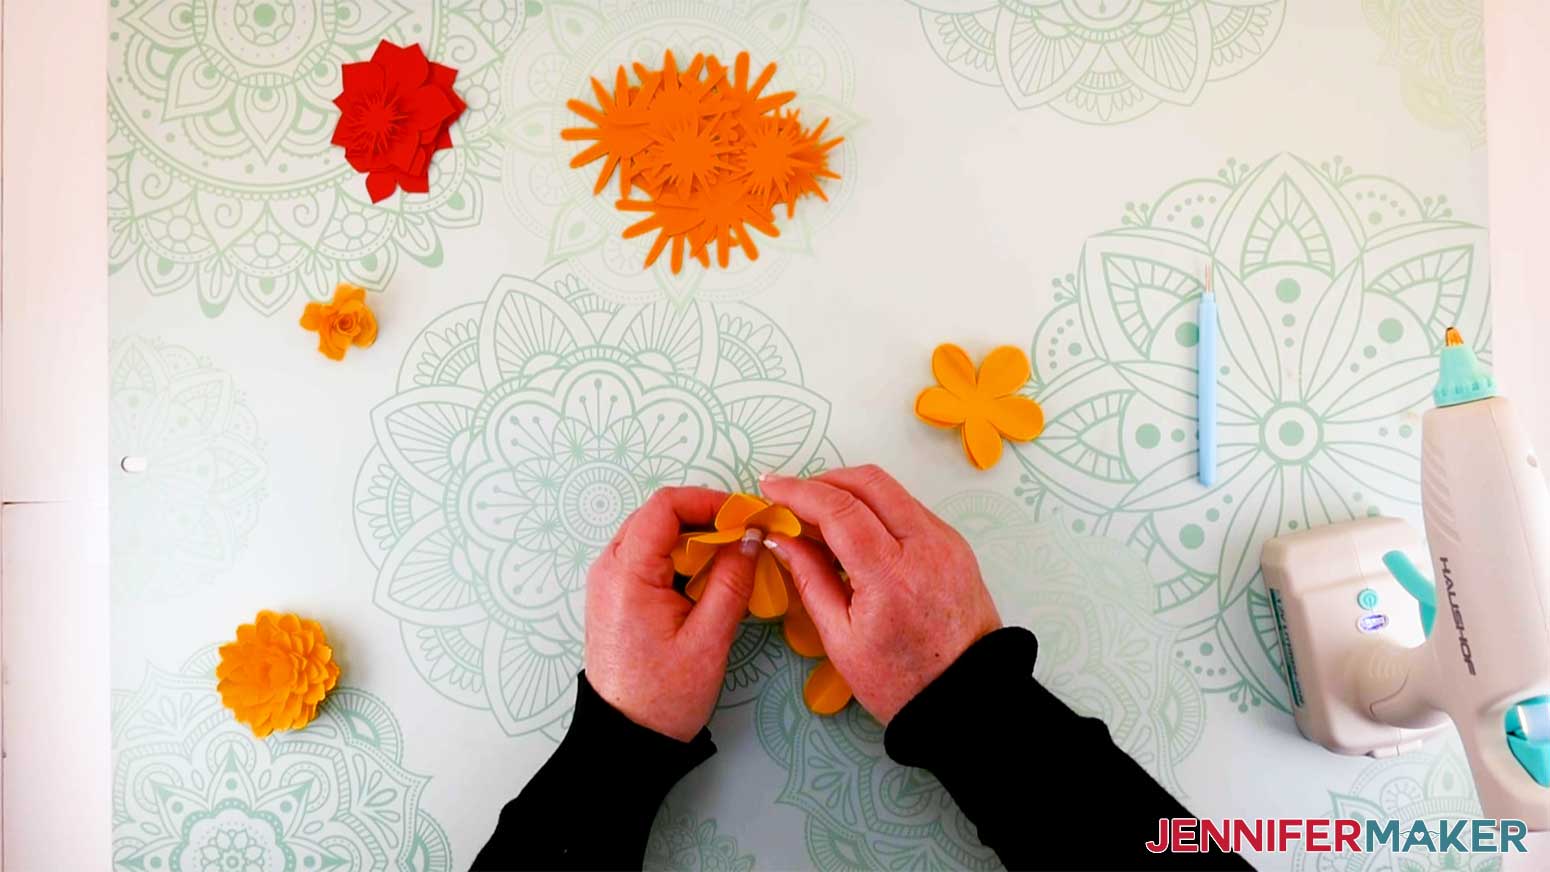
Follow much of the same process for the next two sets of petals that are the same size. Be sure to mold the petals upwards by pressing each petal at its base in the palm of your hand. Continue bunching the petals together and gluing them at the bottom, then placing them inside the corresponding petal of its size.
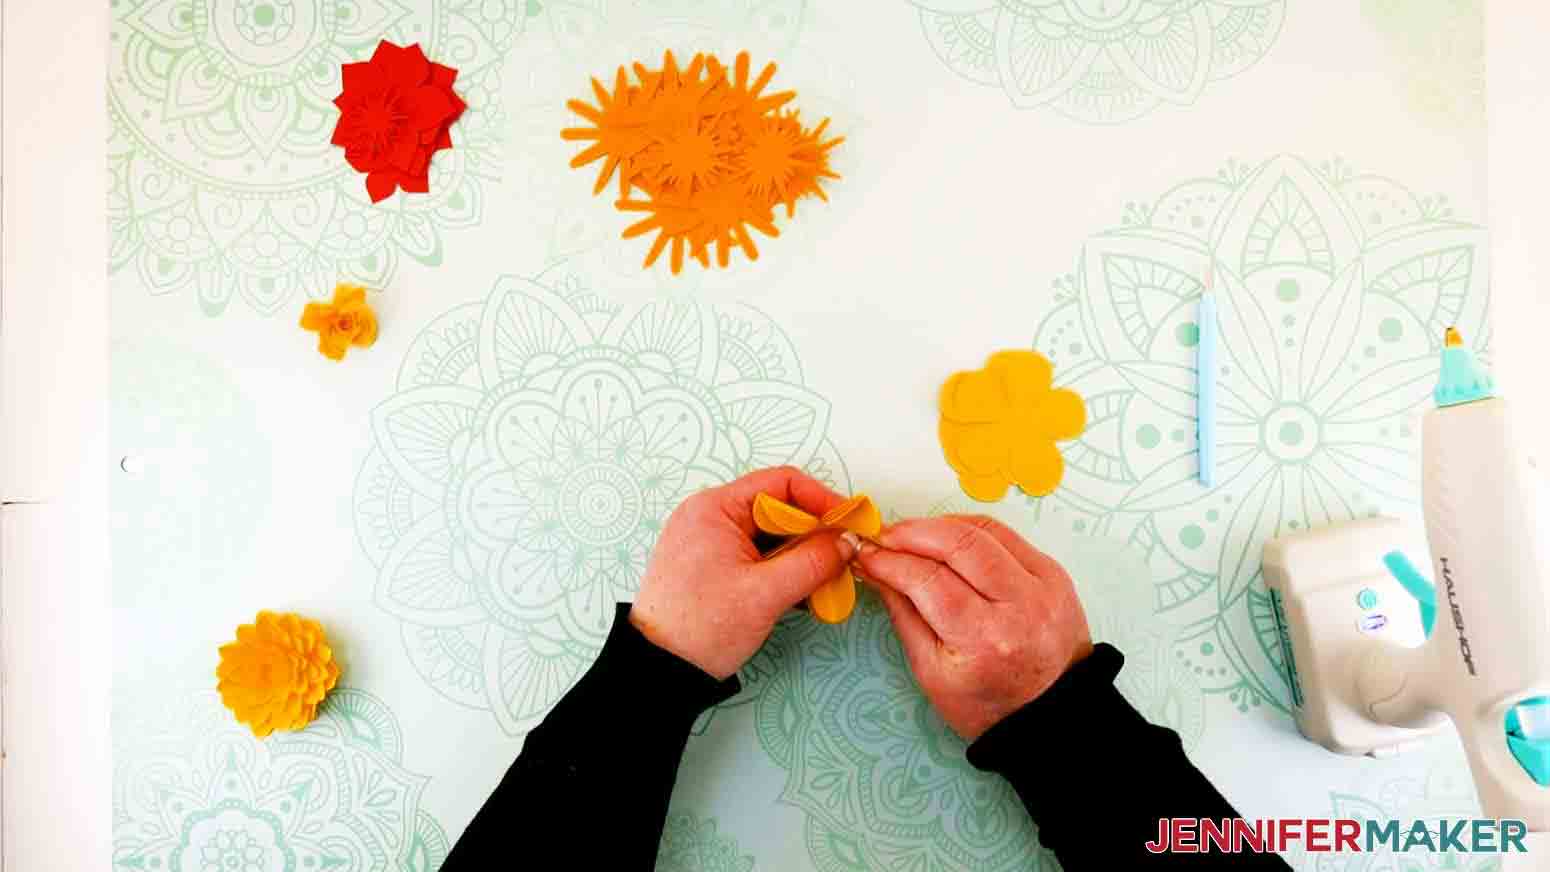
You will now form a rosebud for the middle of the flower. To do this, take one layer of the smallest sized petal and wrap each petal around the next and use a teensy bit of glue to keep it all in place.

Then squeeze it together to form a bud.
Take the bud and glue it to the bigger layer and shape the petals by rolling them back with your fingers, a pen, or the end of your quilling tool.
Glue it in the center and you now have a beautiful Layered Rose!
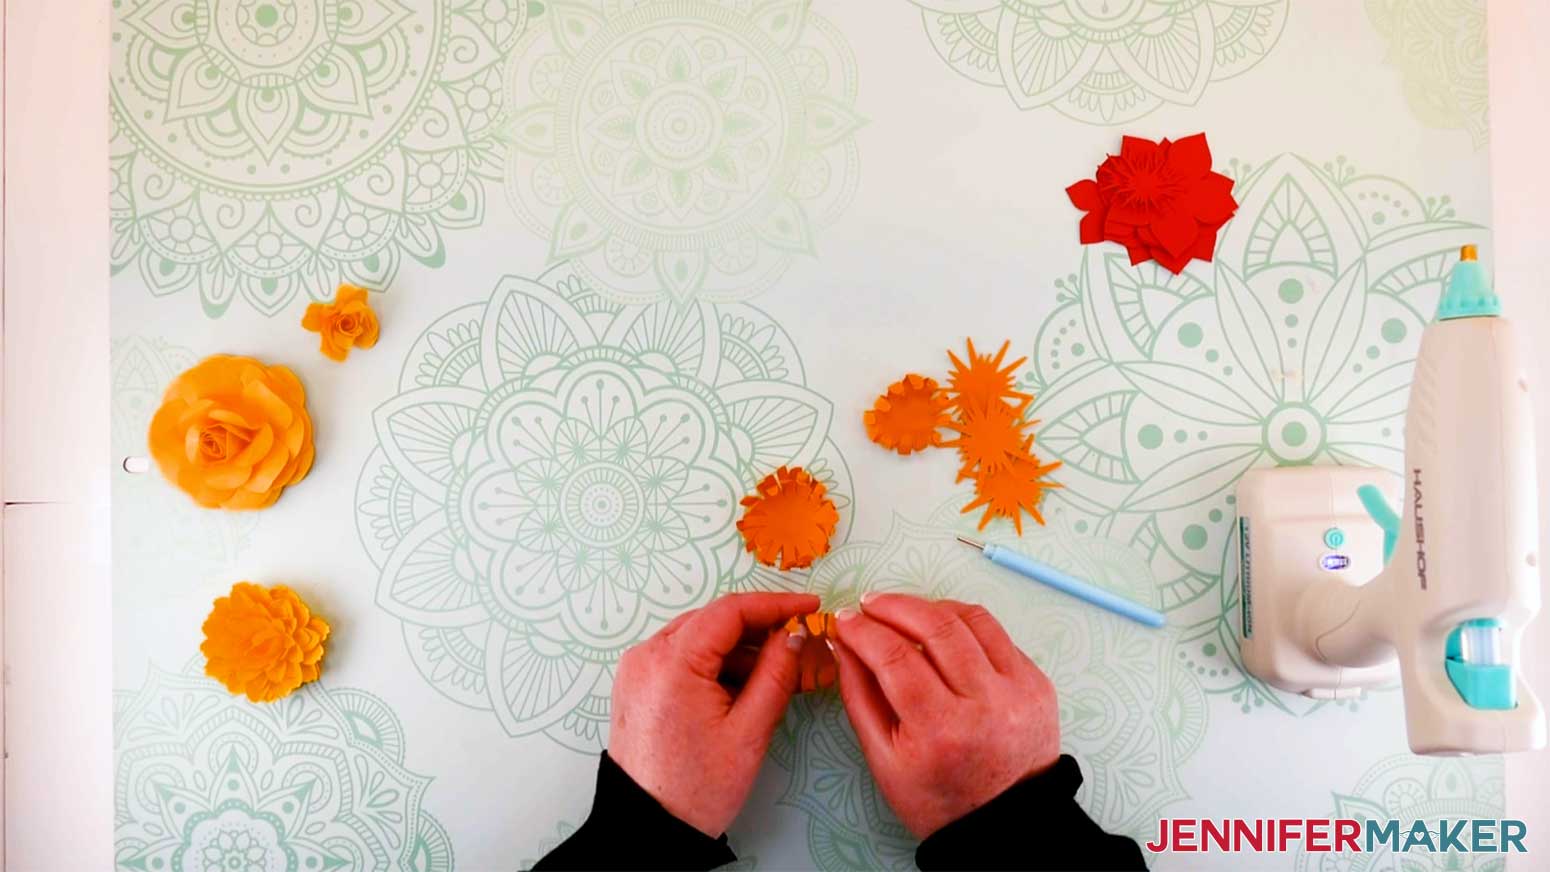
The Layered Mum is shaped a little differently but its assembly process is the same as the Paper Rose.
Stack about 3 or 4 of the Mum petals together and use your quilling tool or pencil to curl the petals. I found it easier to curl downwards but upwards is fine too. Just so you get some curl in those petals!
Once petals are all curled, begin to layer the paper flower. Again, mold the petal with your fingers and the palm of your hand as you go to give it shape. Glue the layers together, again trying to stagger the petals. This is a little more difficult to do with the Mum as it has so many petals! But the end result is such a feathery flower that neither you nor anyone else will be able to tell if it was done "perfectly!" It will look so wonderful no one will care!

Repeat the same process with the center pieces of the mum. Then scrunch them together tightly into a bud-like shape. Push down the top of the centers a bit to curl them inwards and glue them into place.
And you have your Layered Mum all ready to go with the rest of the flowers for the Paper Flower Letter!
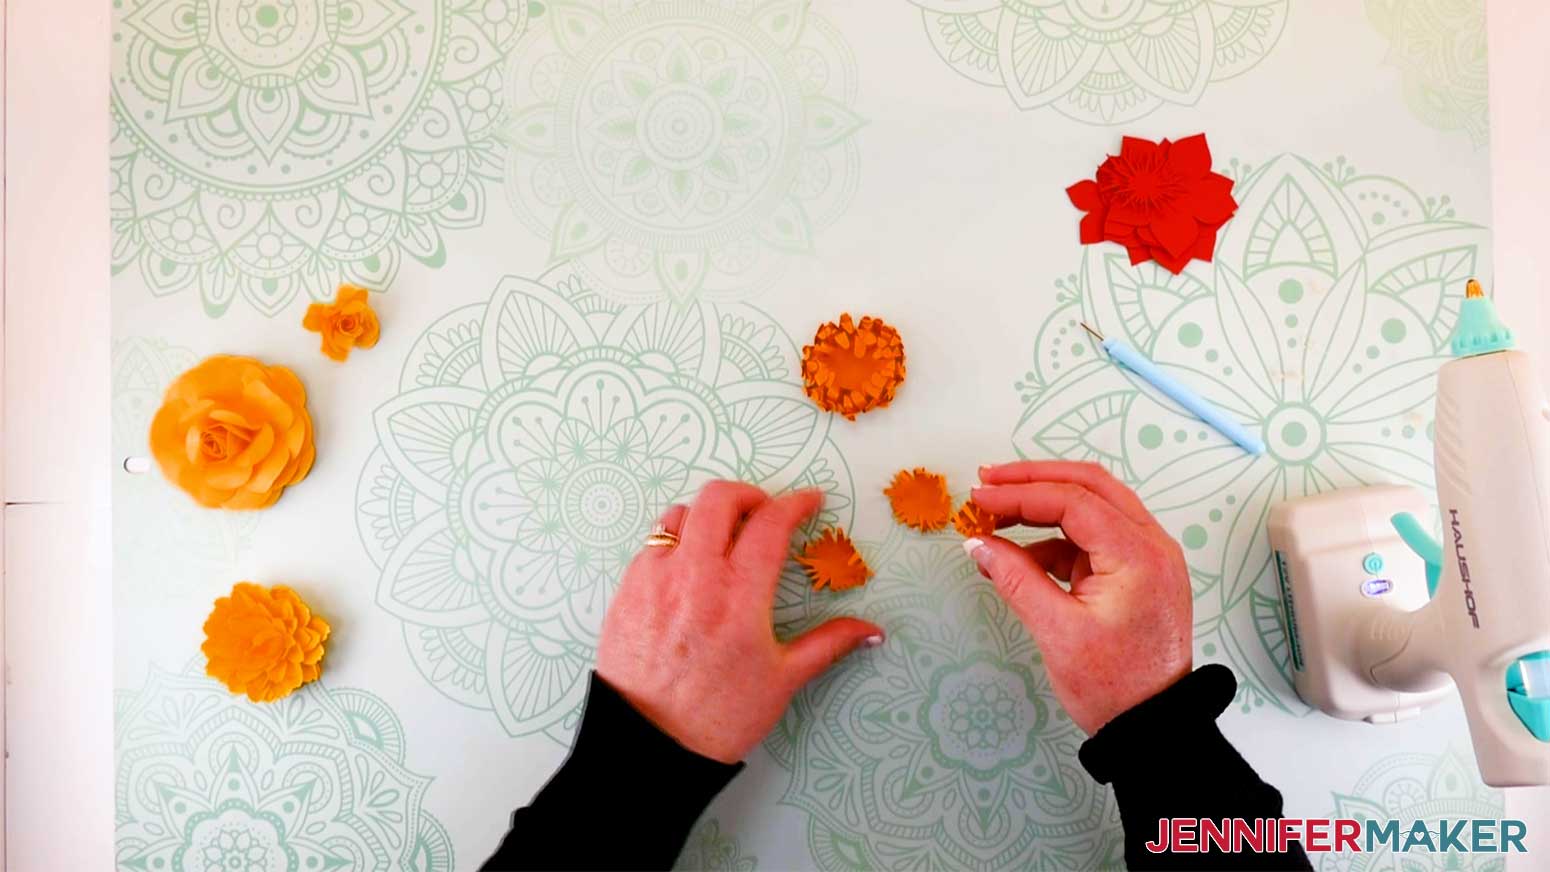
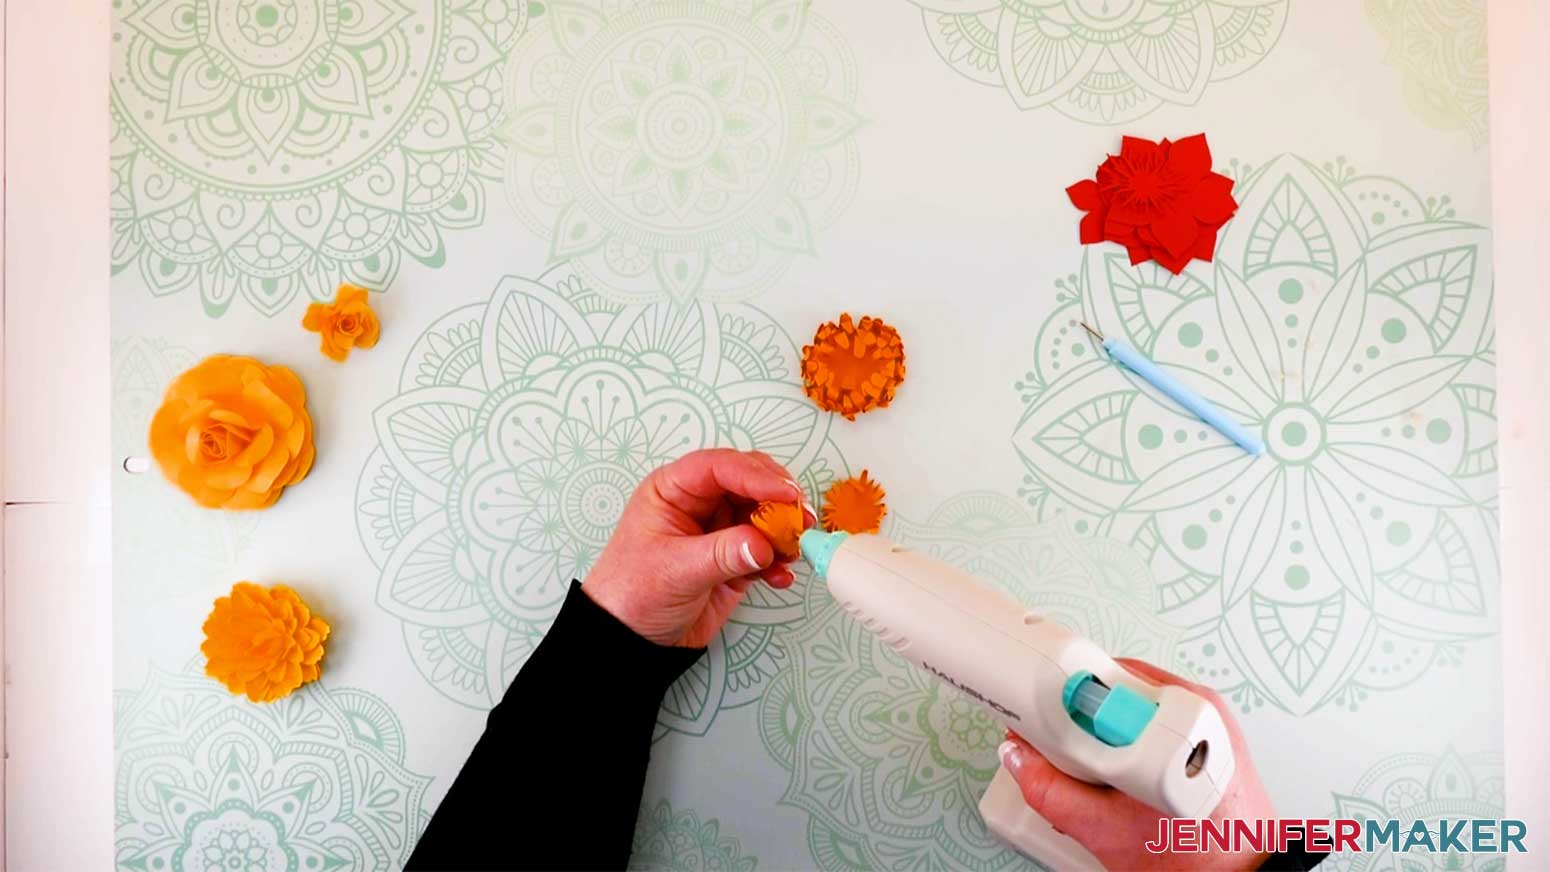
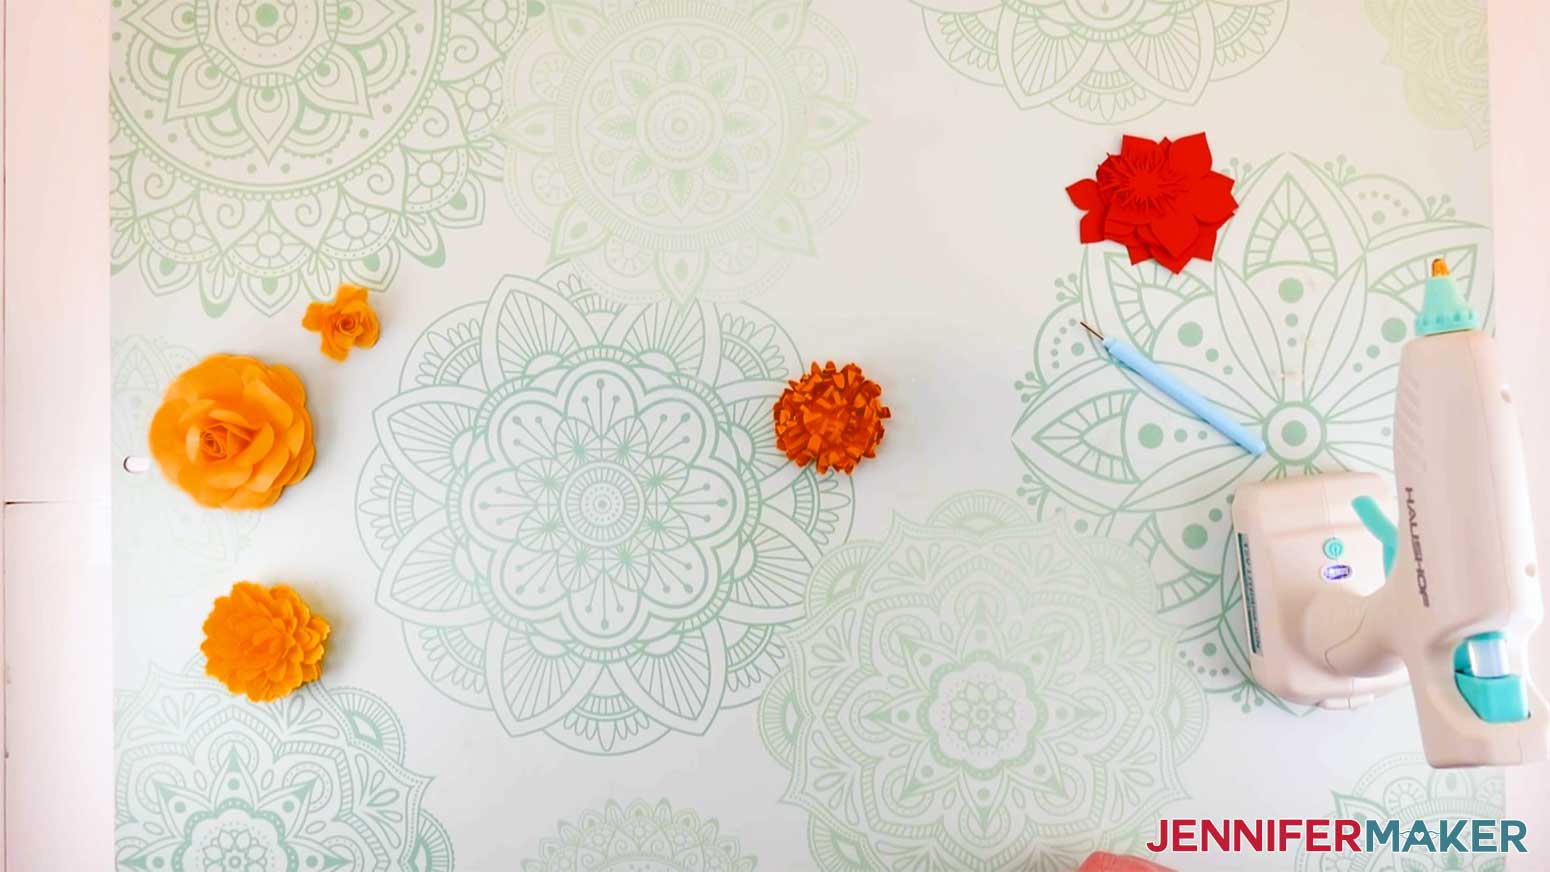
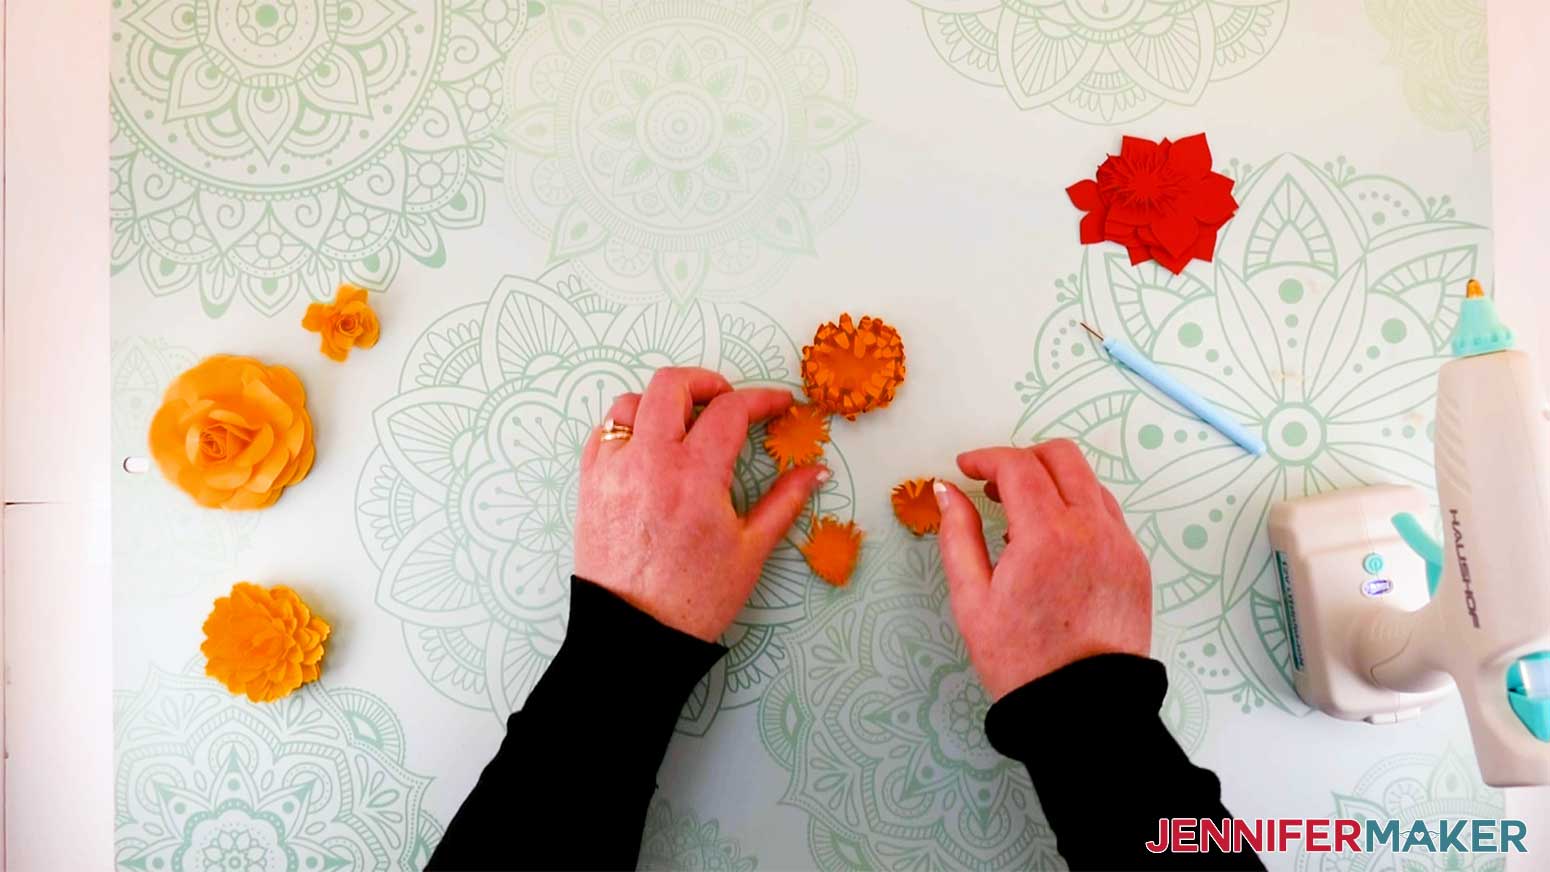
Now to the final flower, the Dahlia!
The outside or larger petals of the Dahlia go together just like the outside layers of the Layered Rose. The center goes together like the Mum. So you can follow those steps for this flower.
Here is a picture of all the flowers in this file assembled. You will notice on the white flower there's a bit of color on the tips. I just took a stamp pad and swiped the flower edges along the pad to get the desired coverage.
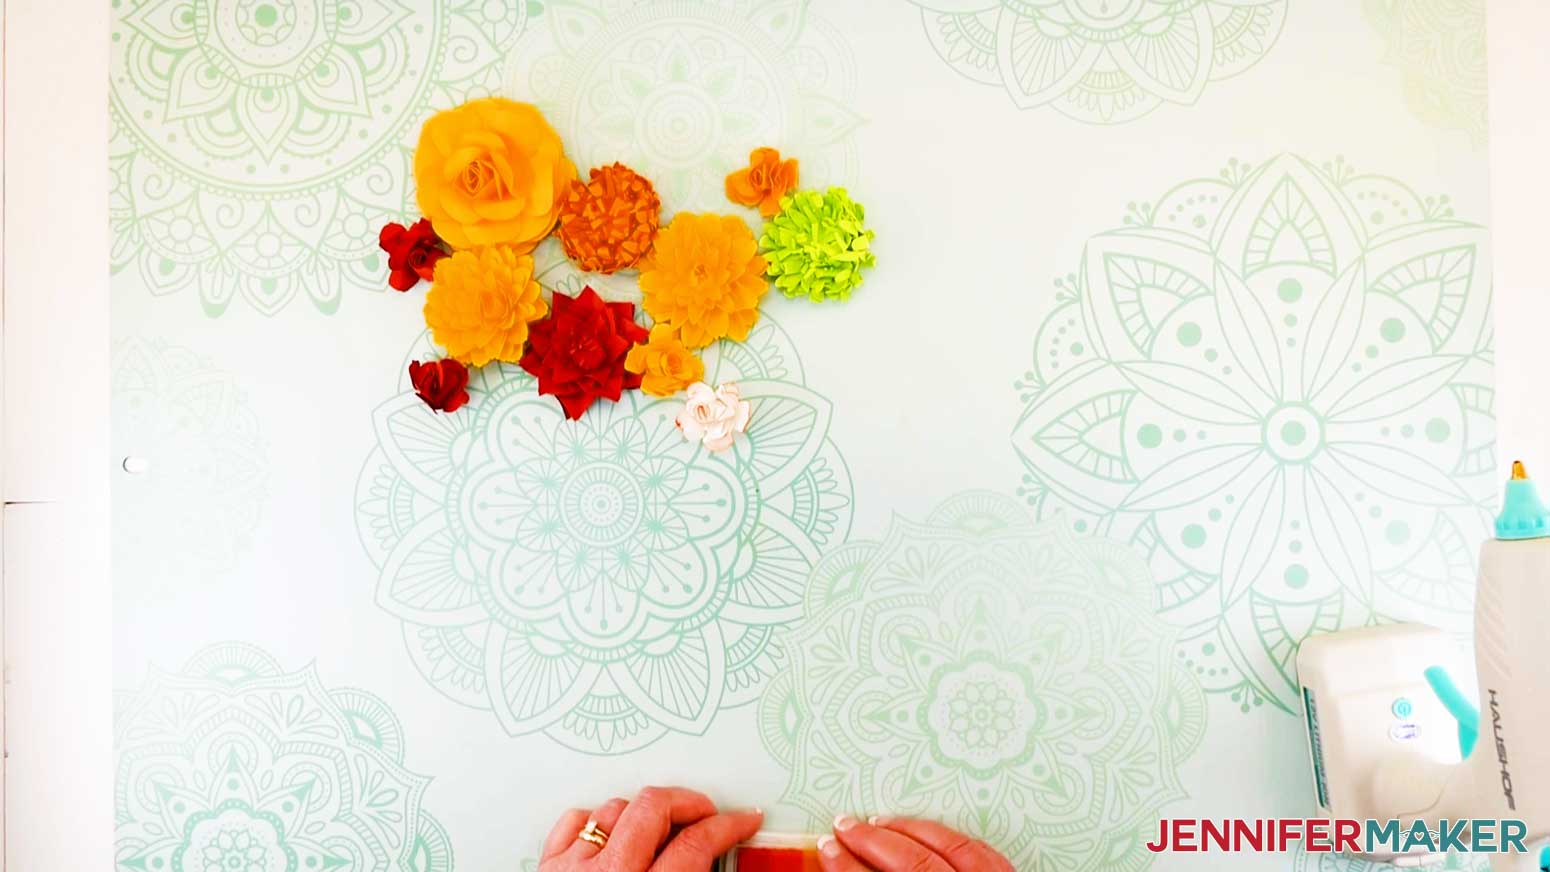
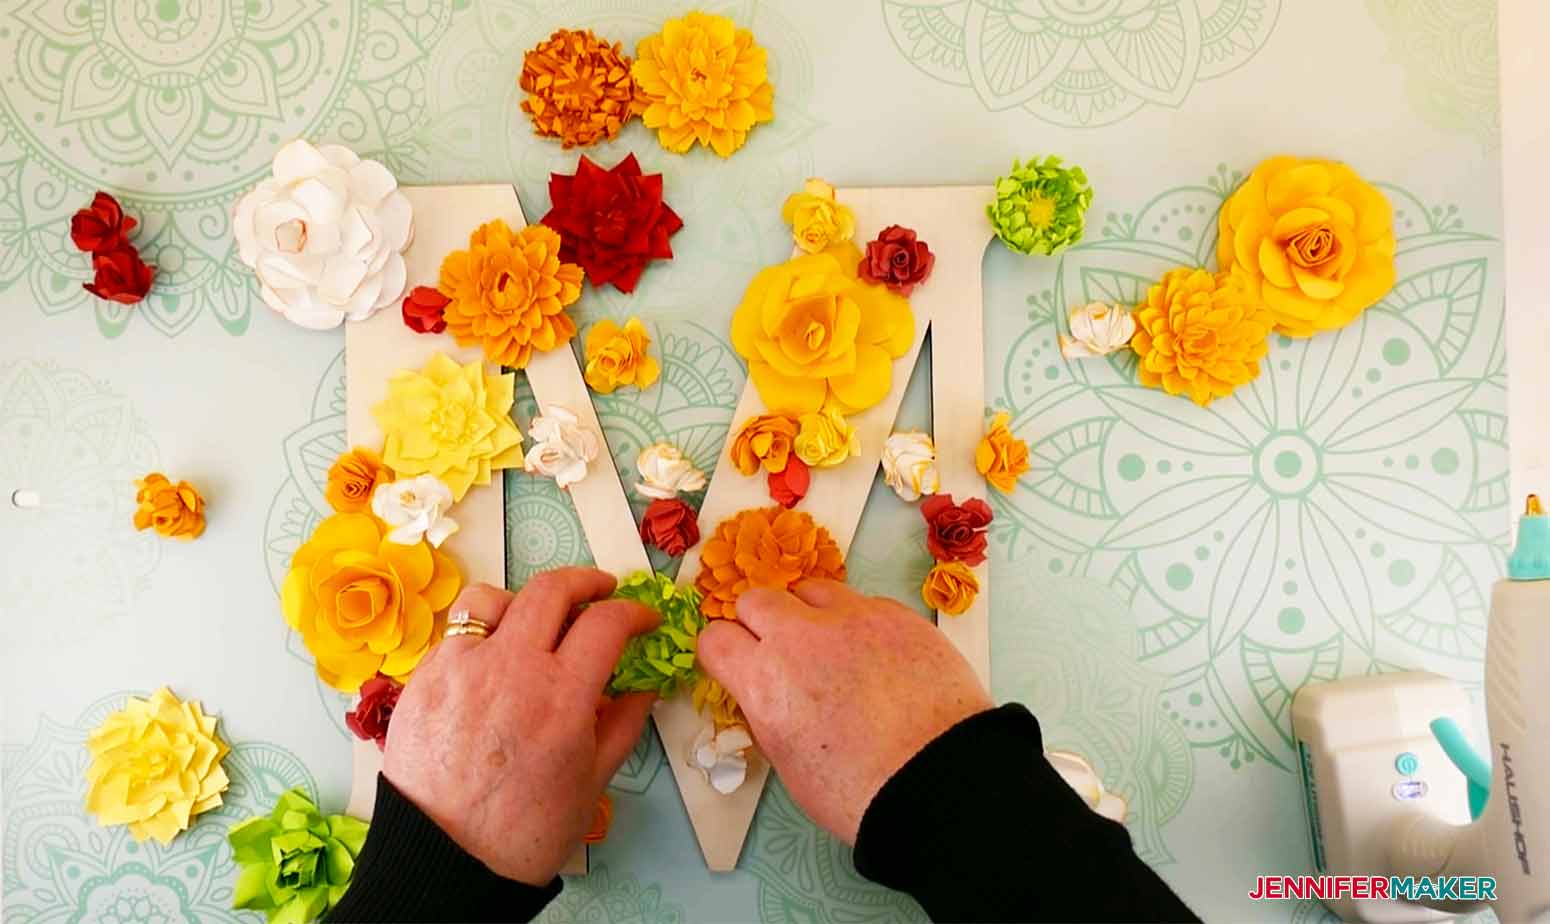
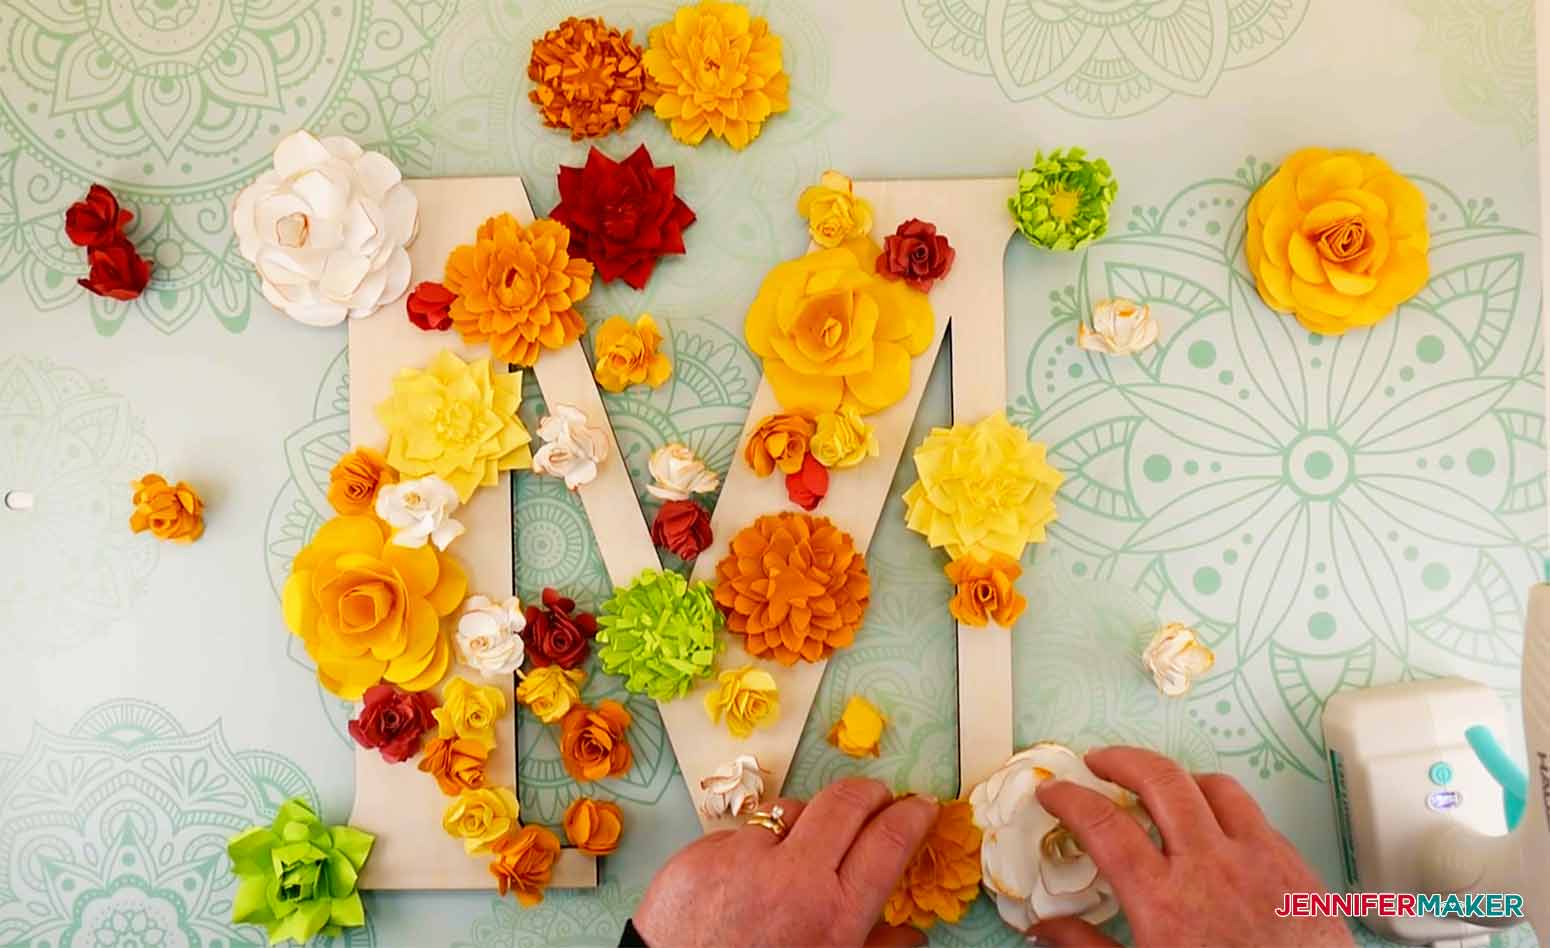
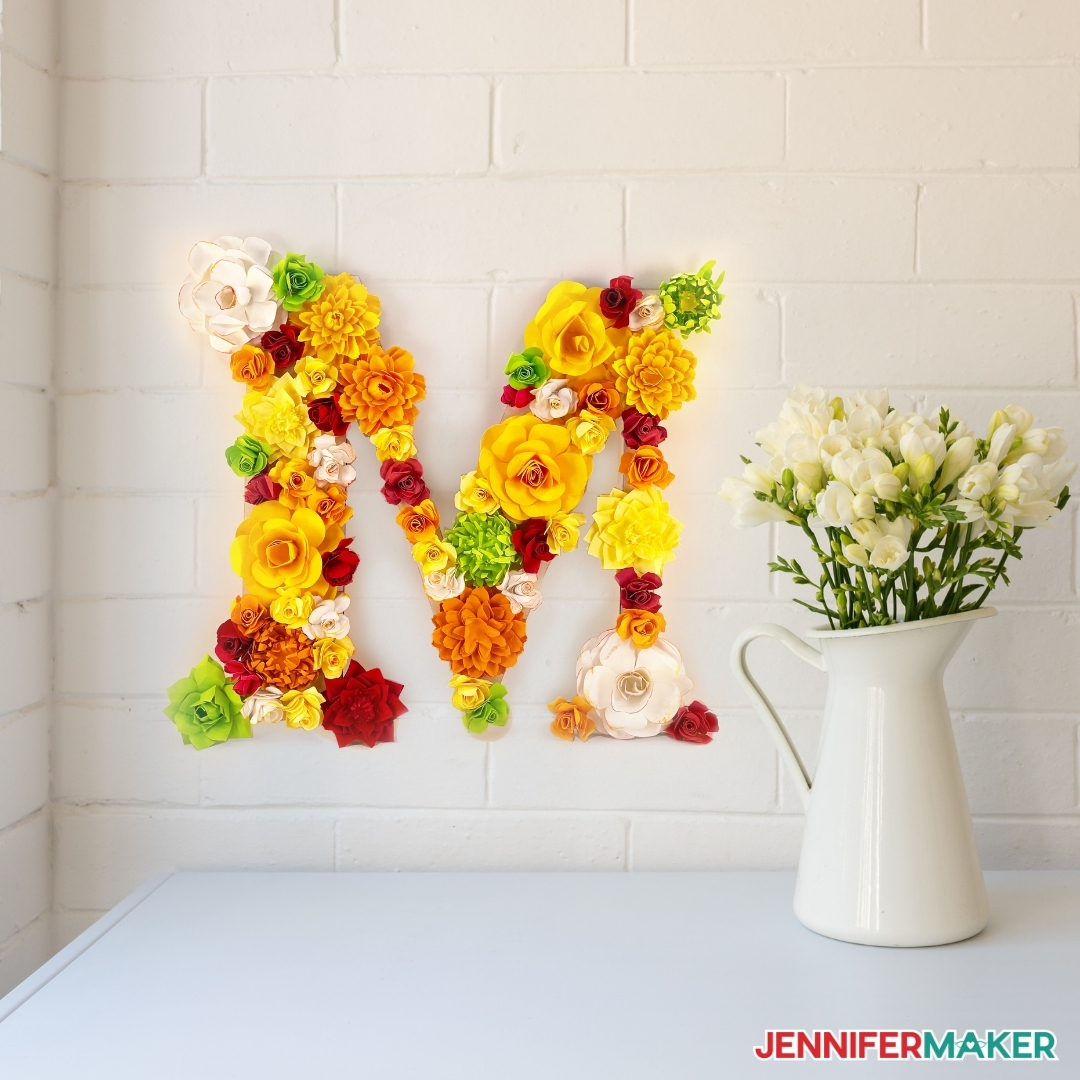
Now to the fun part, putting your paper flower letter together! For this step, you will glue your flowers onto your letter into a pattern that is pleasing to you. I laid out my design first before gluing the flowers into place and I found this very helpful. Another tip, glue the larger flowers in place first, then nestle the smaller ones in between. Just pick up the glue gun and have fun with your creation!
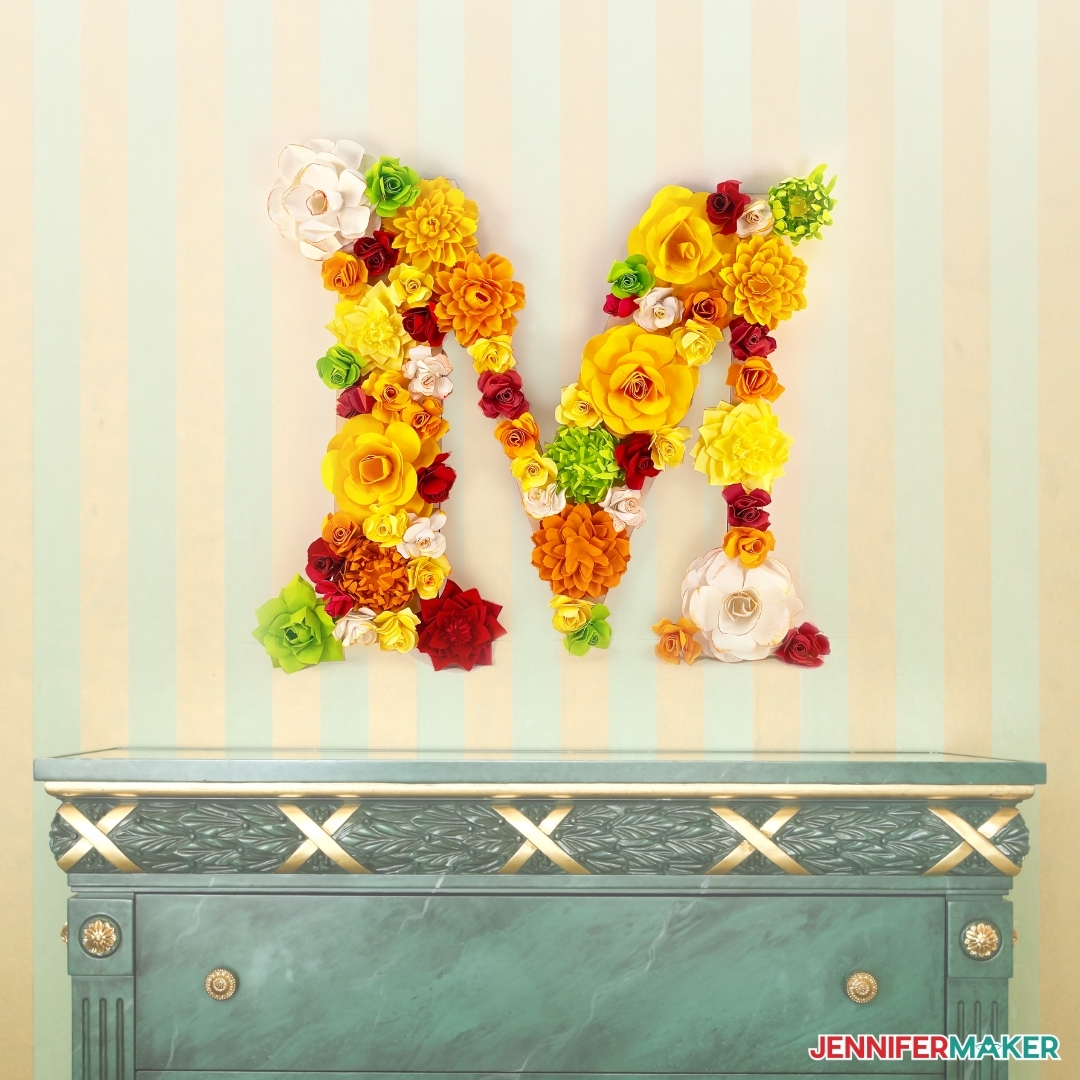
Now it's time to show it off! These Paper Flower Letters are so fun to make and make great gifts and wall art! I would love to see what you did with the Paper Flower Letter design!
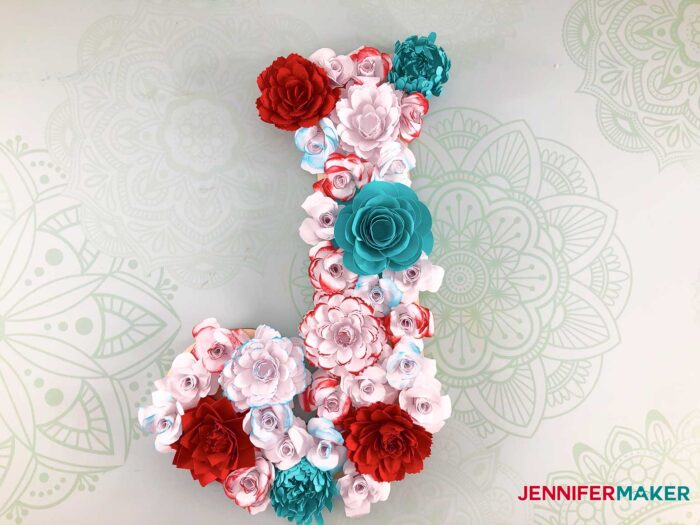
Here's another version I made with different colors. which one is your favorite?

If you make one, please share a photo in our Facebook group, email it to me at [email protected], or tag me on social media with #jennifermaker.
For the letter M, I used approximately 58 flowers total (4 Dahlias, 3 Mums, 5 Layered Roses, 3 Layered Carnations and 43 Rolled Roses) and all were sized as they were in the Paper Flower Letter SVG file.
For the letter J I used approximately 34 flowers total (2 Dahlias, 2 Mums, 4 Carnations, 1 Layered Rose and 25 Rolled Roses ) all were sized as they were in the Paper Flower Letter SVG file.
© JenniferMaker Project Type: Paper Craft / Category: Cricut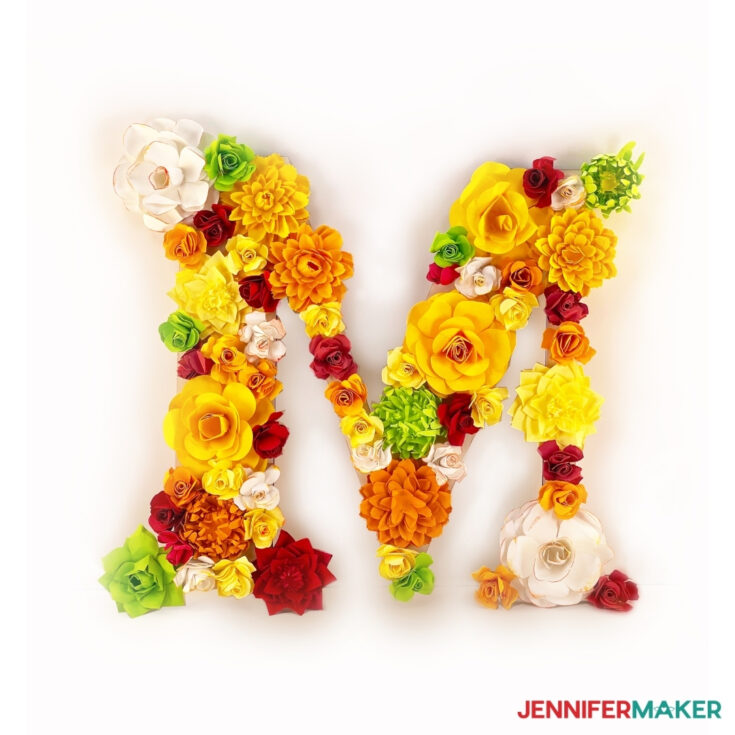
Q: Do I need to use a 12″ wooden letter only?
Nope! That’s the beauty of this paper flower wall art! You can modify any part of it to better fit your needs. Just remember, if you use a different size wooden letter, you’ll just need to adjust the number of flowers you make! So easy!
Q: Can I also make the Paper Flower Letter on my Cricut Joy?
You sure can! You don’t even need to resize the flowers! You will be using more cardstock than what we talk about in this tutorial, though!
Q: Do I have to fill up the entire initial with paper flowers?
No, it will still look just as dramatic if you choose to paint or stain the initial and confine the paper flowers to just part of the Paper Flower Letter! I would love to see what you do with that!
Q: Can I use foam board or something other than wood for the initial?
Yes, absolutely! I would advise you to make sure the backing you use is strong enough to hold the flowers.
Q: Are these flowers already on your blog?
No, these specific designs are specially made for this project but I also have variations of most of them on my blog as well! Can you tell I love paper flowers? Feel free to use any of the other paper flowers I have here for your paper flower letter, too!
Q: My flowers don’t look as nice as yours. What am I doing wrong?
You might be too hard on yourself! I’ve been making paper flowers for a long time, so be patient with yourself. Most of the time, I’ve seen that people are either rolling their flowers too tightly (it’s hard to keep them loose to look natural), or they are having trouble cutting with their cardstock to get nice edges. For a project with this number of flowers, you are going to make sure your blade and machine mat are nice and clean all the way through! Here are some great tips on Getting Cleaner Cuts!
Q: Do I have to use 65# cardstock?
You can use whatever you have handy! I do recommend 65# for paper flowers, especially for a large number of flowers like in this Paper Flower Letter project, because the paper has just the right amount of stiffness to keep the flower shape, yet has enough “give” to be able to shape the petals so they look natural. But, please feel free to experiment! You may find that you prefer something different!
I’d love to see YOUR paper flower letter and how you display it! Please share a photo in our Facebook group or tag me on social media with #jennifermaker.

Jennifer Marx is a designer, an enthusiastic crafter, a lifelong teacher, and a proud overcomer of a variety of life's challenges. In her spare time she loves to play D&D and video games, garden, sew costumes, and go to Disney. She lives a full, happy life in beautiful Ann Arbor, Michigan with her partner Greg, her daughter Alexa, their two dogs, Hunter and Chloe, and their sassy orange cat, Butterscotch.